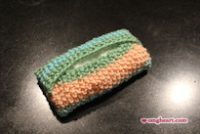
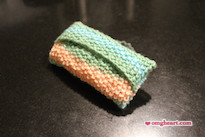
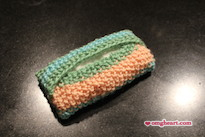
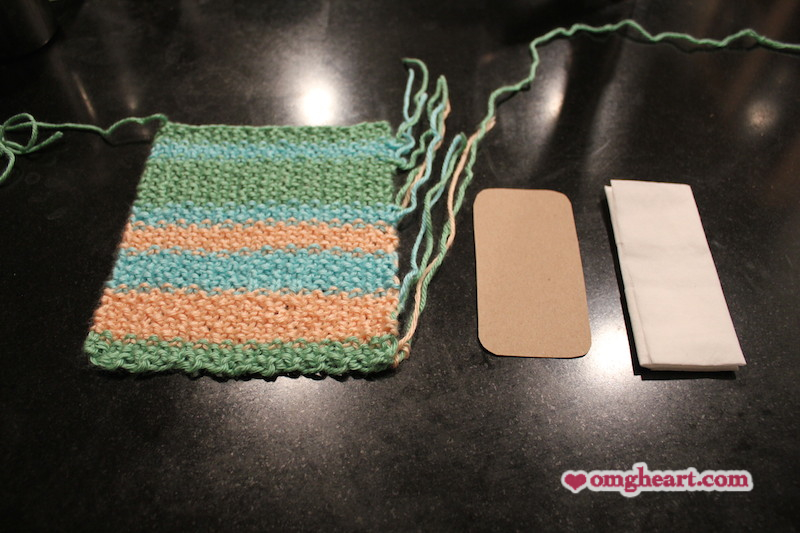
This simple project is just a knitted rectangle folded in thirds. It requires knitting a 6″ x 6.5″ rectangle using Seed Stitch then sew the ends to close. I was packing for a trip and wanted to bring some tissues. Rather than buy travel-sized tissues, I just quick knitted a little holder for some tissues! It should take about 2-3hrs to complete.
Materials:
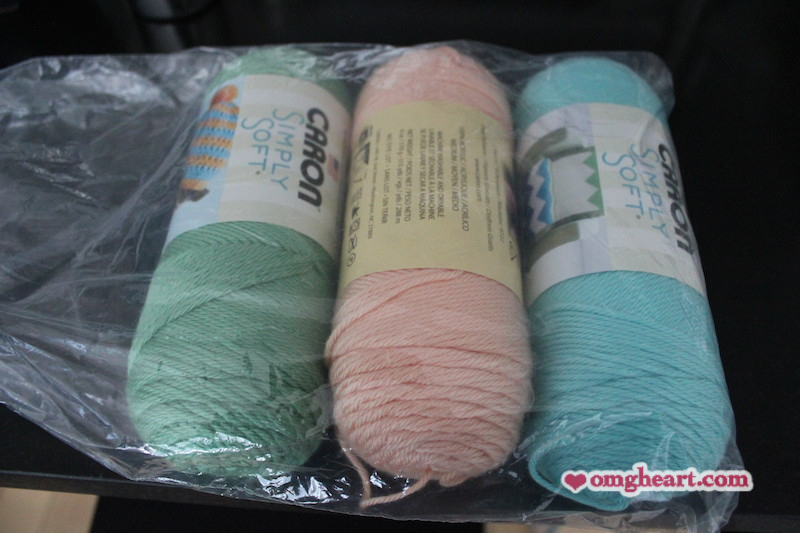
Caron Simply Soft Yarn, Worsted Weight, 100% Acrylic, 315 Yards, $3.99
in 3 Colors – Robins Egg #9780, Sage #9705, Lt Country Peach #9737
Old Tissue Box or Piece of Cardboard
Yarn Needle
Needle: US Size 4 [3.50mm] Circular Needles 36″
Skill Level: Beginner
Finished Size:
Unstuffed – 6″ Length x 3″ Width
Stuffed – 5.5″ Length x 2.5″ Width x 1.25″ Height
Fits 12 standard tissues folded into quarters.
Pattern:
Leave a 12″ long tail when making the slip knot to Cast On.
Knitting:
Cast On 25 sts
Row 1: K1, {P1, K1}, repeat { … } until end.
Repeat Row 1 until piece measures 6.5″ or about 48 rows.
Bind Off. Leave a 12″ long tail.
Assembly:
Cut a piece of cardboard from the empty tissue box about 5″ long x 2″ wide. This piece will be used to give the holder stability. With the Right Side of work facing up:
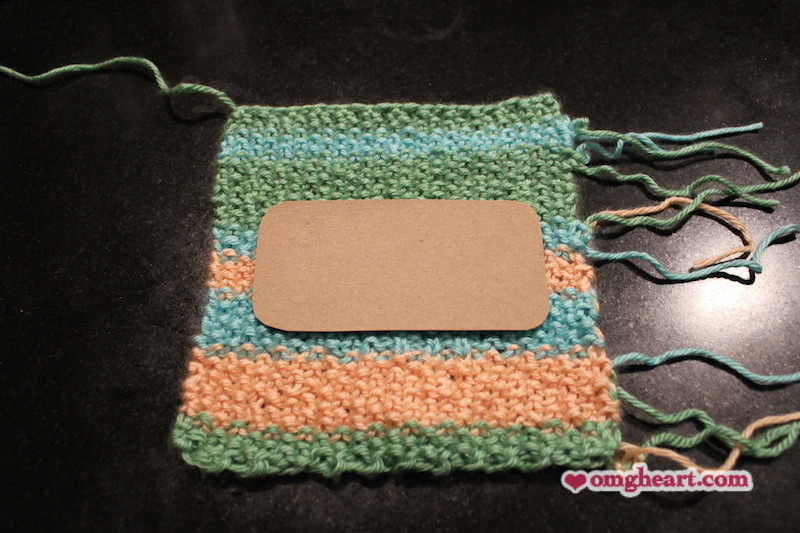
Place cardboard in center of piece. Fold around the cardboard into thirds with Right Sides of Work on the inside. Fold down from top, about 2″, this will become the Top Flap. Then fold up from bottom, about 2″, this will become the Bottom Flap. Flaps should overlap at least 1″ or more. Adjust as necessary. Pin sides together to hold in place.
You will be sewing on the Wrong Side of work, then turning inside out. Sew using Overcasting Stitch right through all folds taking care at corners of each flap. Sew in ends as you go and trim.
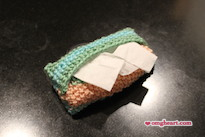
Turn inside out. And stuff with folded tissues!
Notes:
Use any type of knitting needle preferred. I used Circular Needles because that’s all I had available.
Use any Worst Weight size yarn available. I did not use a full skein. This small project only used a tiny bit of each color. Spare yarn or leftovers is great for this project. Block your piece for a more professional finished look.
I made irregular stripes in random increments based on how I wanted it to look when folded. I made sure to switch colors on a Right Side Row. So basically in multiples of 2. Every 4, 6, 12 etc.
Seed Stitch is just {K1, P1} over an Odd Number of stitches! The same {K1, P1} over an Even Number of stitches will give you a Rib Knit!
Sew the seams closed using any option like Backstitch or Overcast Stitch. Slip Stitch Crochet along the seams works too.
Add a decorative border to the top flap for a more finished look. I Slip Stitch Crocheted one edge. The edge that will be showing once folded down.
To stuff, stack folded tissues on cardboard piece, then place stack into holder.
Next time I will make it shorter, about 5″ x 2.5 instead and have the flaps overlap a tad bit more. Having 1 color at folds instead of 2 and flaps ending in matching colors helps for a neater look. Overlapped portion should be centered before sewing closed.




Archer
I can’t wait to try this for my first grader. Perfect for backpack tissues, thank you for sharing!
Pattern: Pocket Tissue Holder in Moss Stitch | OMG! Heart
[…] easy small project to tote around perfect for train rides or traveling. Here is another version of Pocket Tissue Holder in Seed Stitch I made with more […]