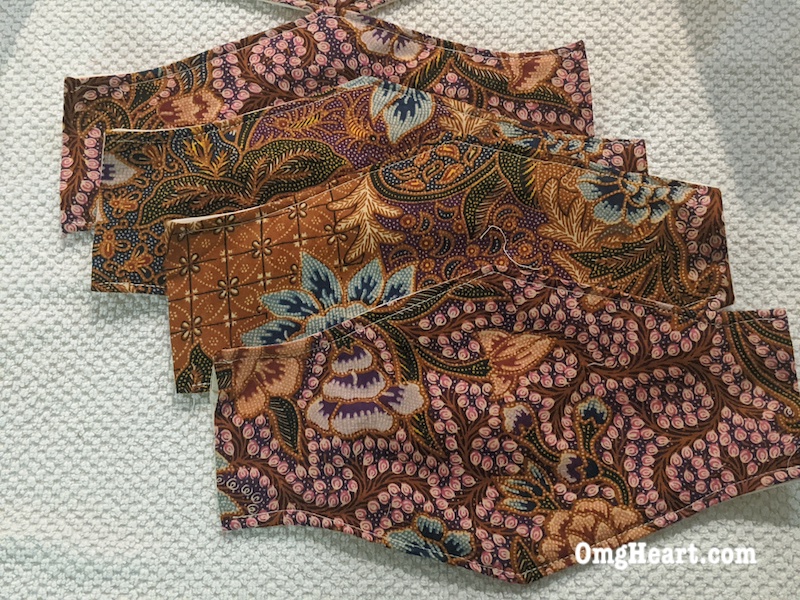
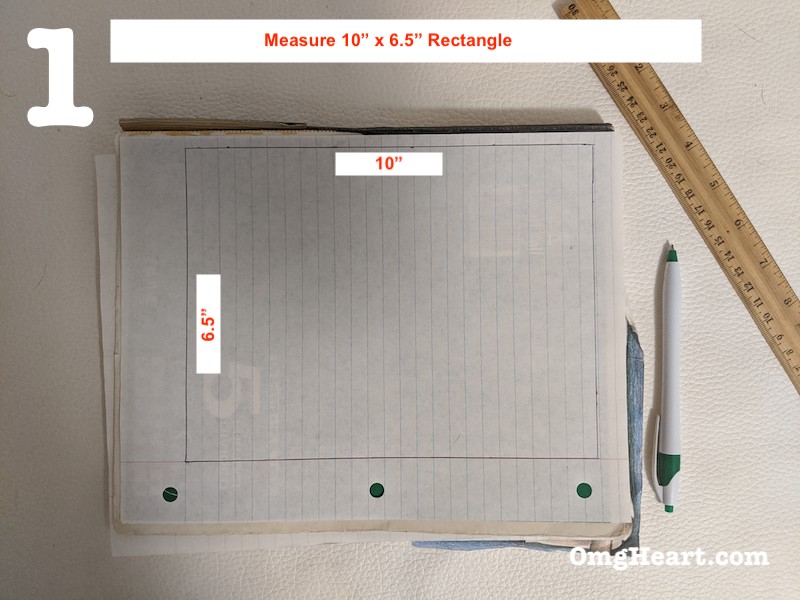
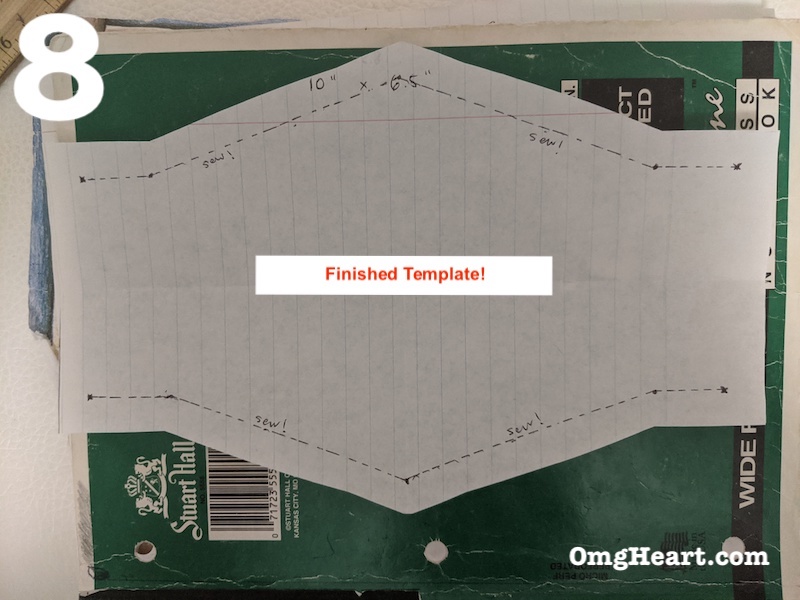
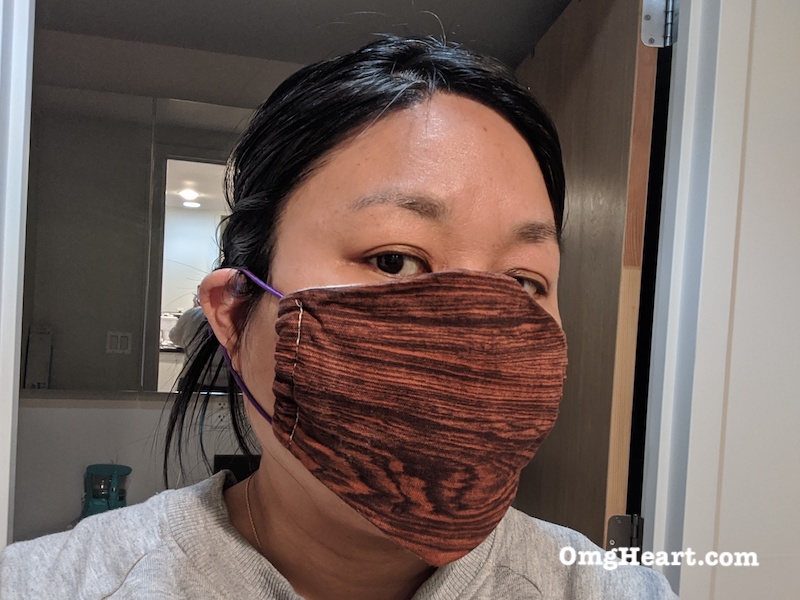
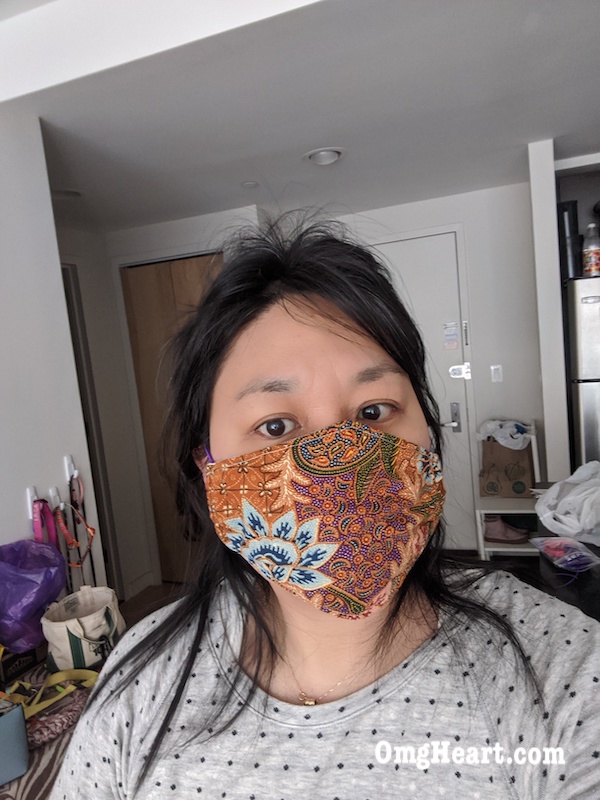
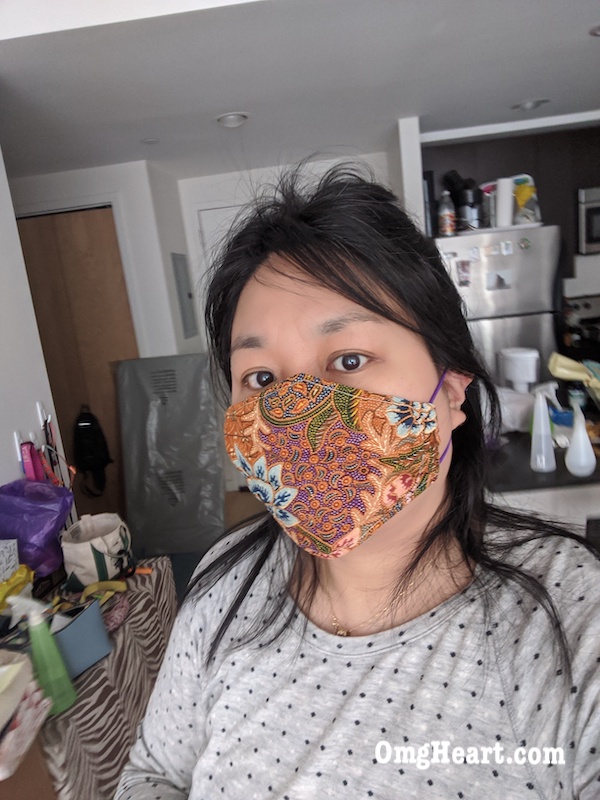
This is a 3-Layer Mask with a Contoured Shape and adjustable straps that are removable. I created this design so that it has a simple construction that uses a template you create yourself! No printer required. Just create using a 6.5″ x 10″ piece of paper, fold, and cut to create the template. Use this template to cut out 3 pieces of fabric, stack, and sew.
This 3-layer mask is breathable yet has an extra “filter” layer sandwiched between the outer layers for some extra protection. The shape also provides a more versatile way to wear it. Pinch and fold near nose area to plug up gaps at the side of the nose or fold down to create a straight-style mask. The generous size can accommodate more face shapes and sizes.
Great for every day errands and washable! Make several so that you can change them out daily or as necessary. Make sure to wash after each wear.
Can’t find elastic cord? See my DIY: Fabric Facemask Basic Wide to make a version that uses elastic hair-ties instead!
Materials
- Outer Fabric (Quilting Cotton)
- Padding (Old T-shirt)
- Inner Lining (Cotton Muslin)
- Elastic Cords (Two 14-inch Cords)
- Paper (for creating template)
- Thread
Tools
- This pattern assumes you have a sewing machine and all the related tools and notions necessary. See my post on where to buy Face Mask Supplies and Materials needed (and some great alternatives if no sewing machine is available).
- A bodkin or bobby pin to pull elastic cord through sides can be handy. If none of those are available, just place the elastic in between the folds before sewing in sides.
Create Template
- Cut piece of paper 10″ wide by 6.5″ high.
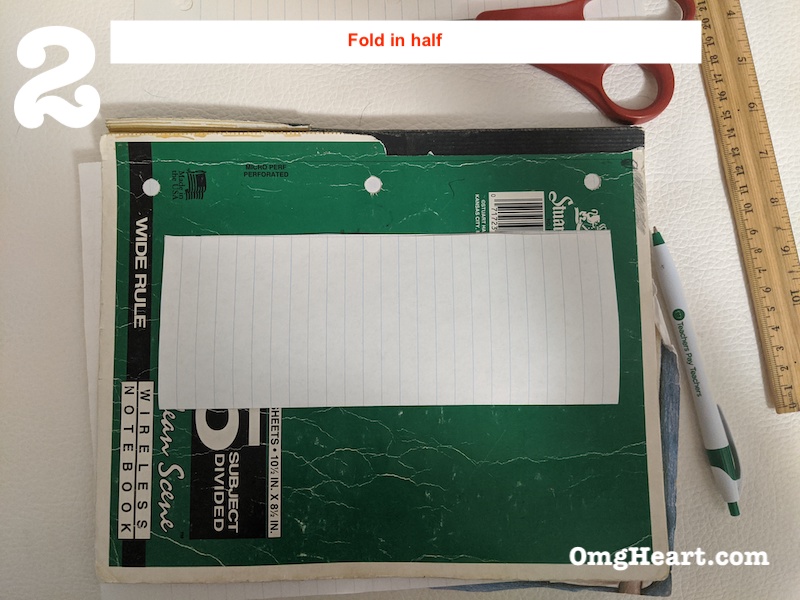
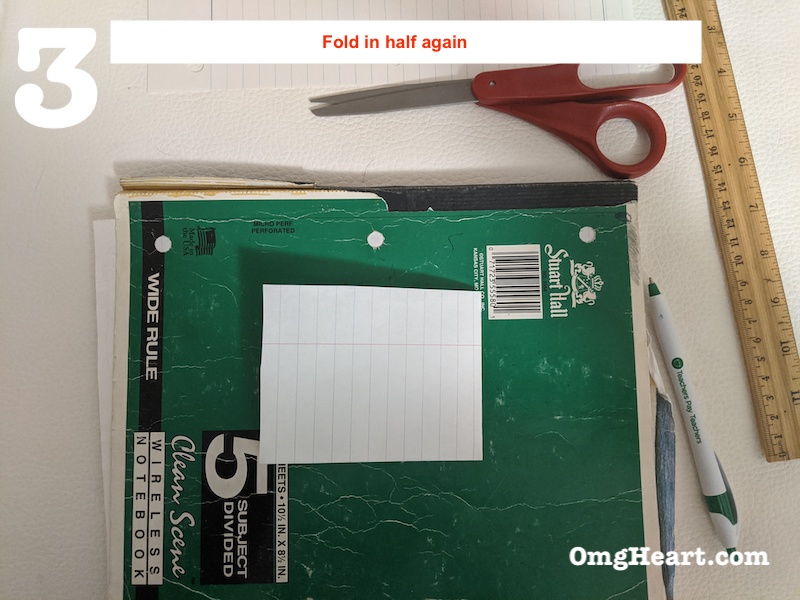
- Fold in half lengthwise, then again widthwise.
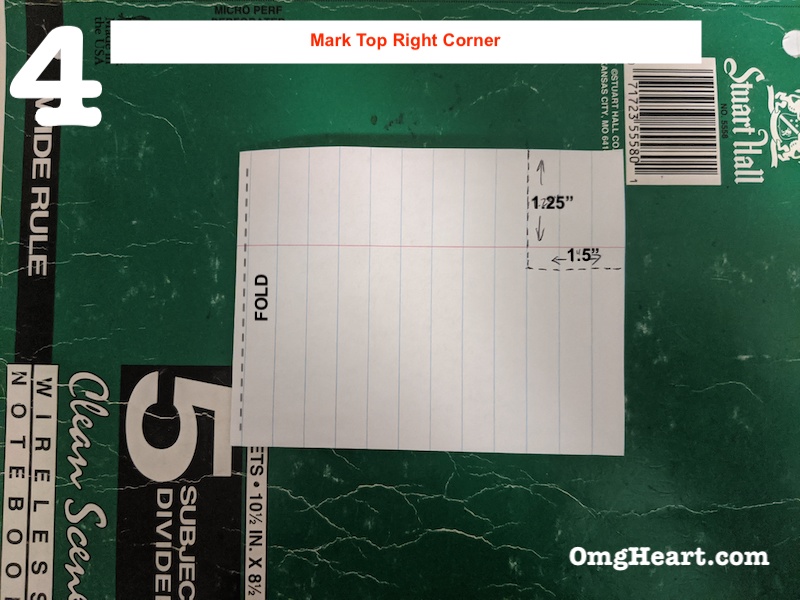
- Measure and mark 1.25″ from top, 1.5″ from side creating a small rectangle in top right corner. (Do this with the folded edges oriented to the left and bottom)
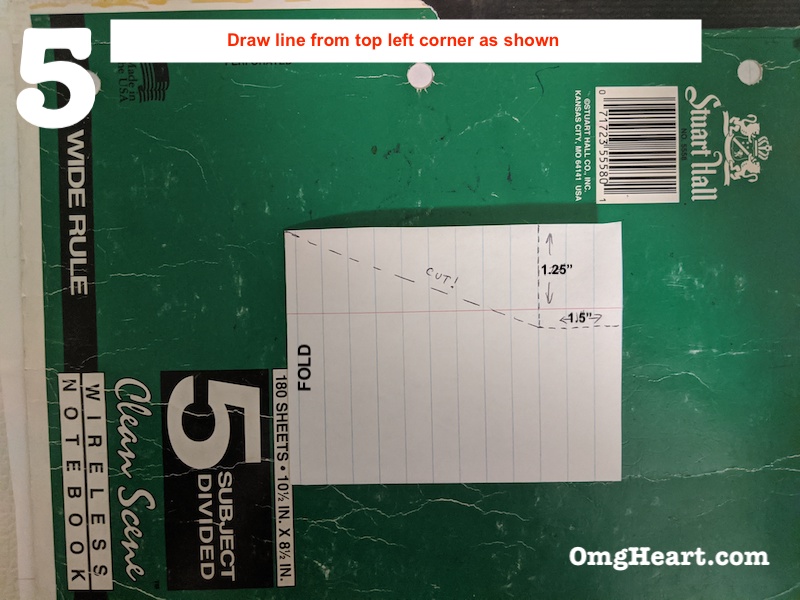
- Then mark from the top left corner down to bottom left corer of rectangle marks.
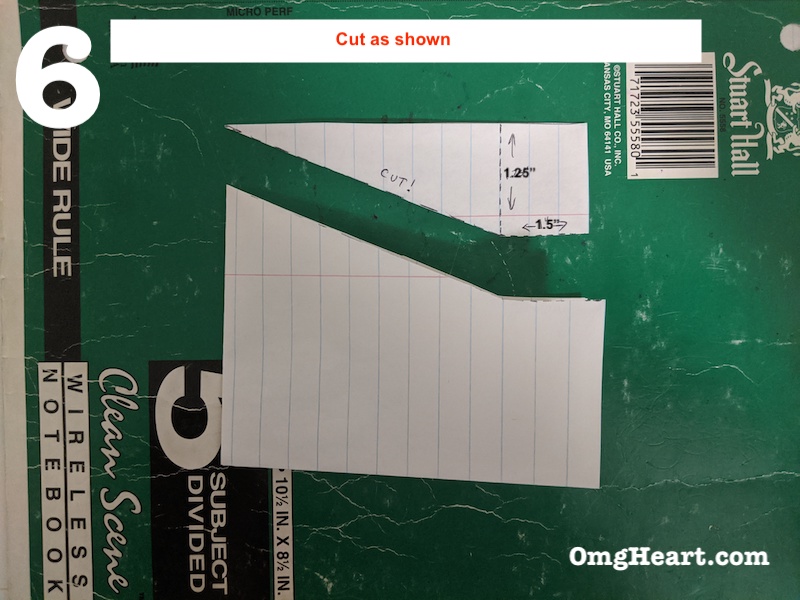
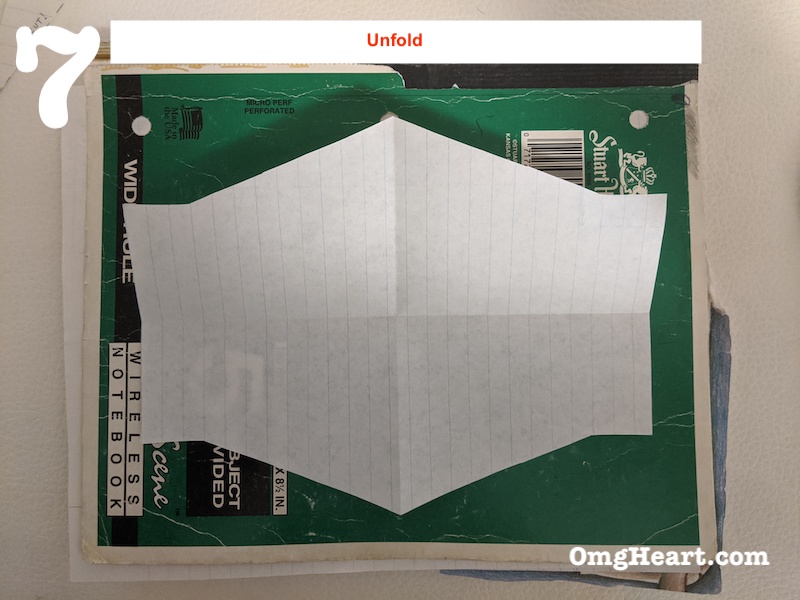
- Cut and unfold.
Cut and Sew
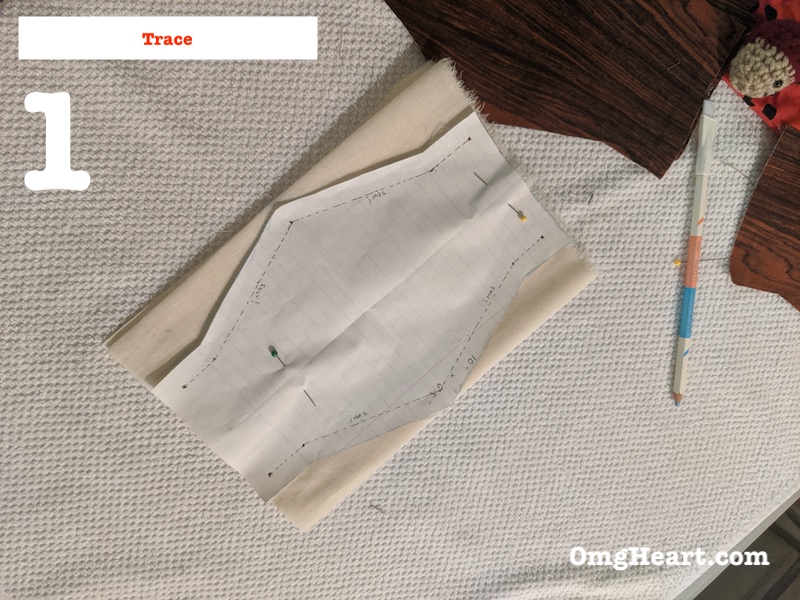
- Place template on top of fabric, trace around template. (pin if desired)
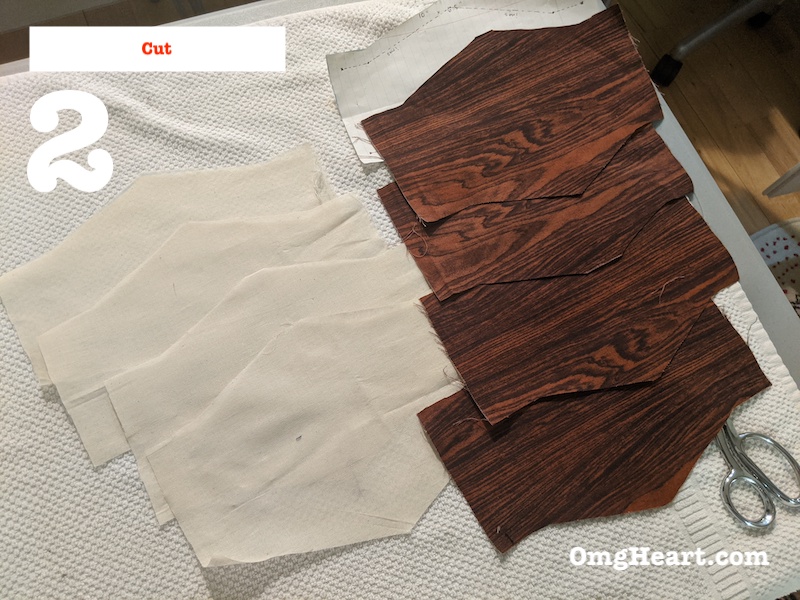
- Cut along marks. (pin before cutting)
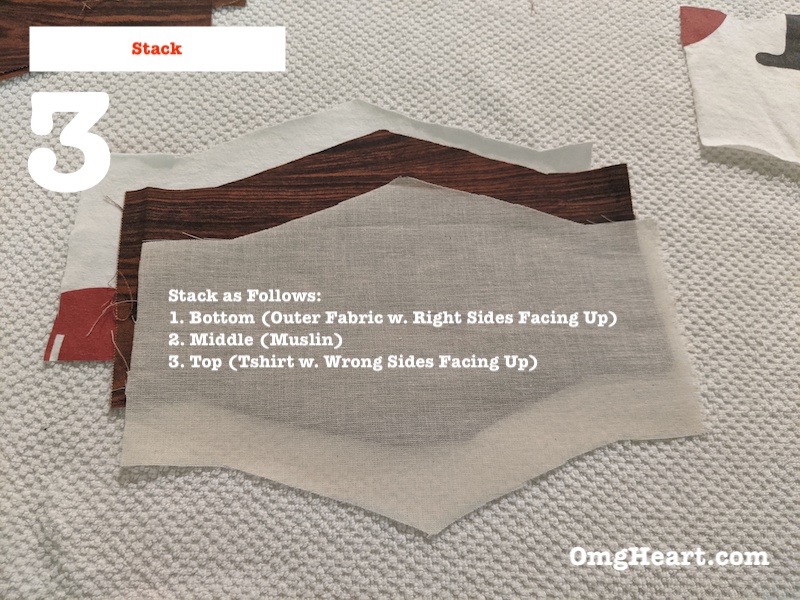
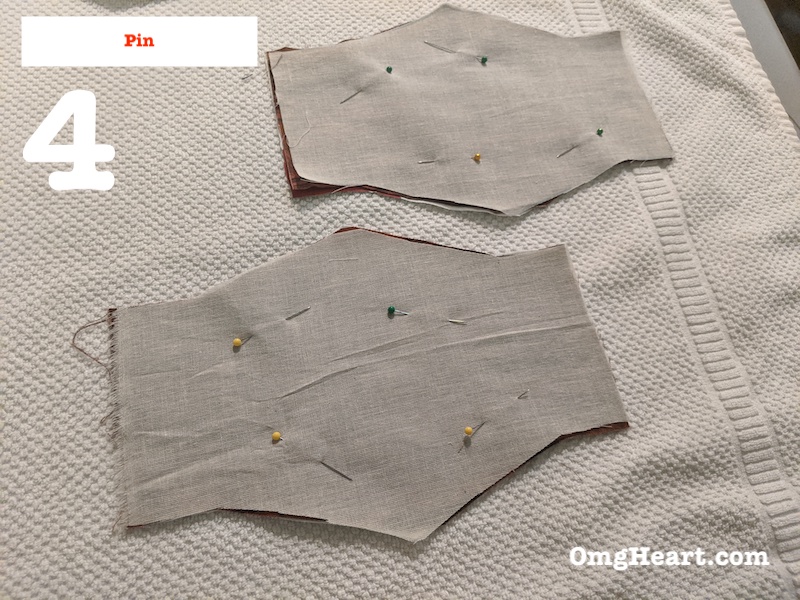
- Stack Outer Fabric (RS up), Muslin, then Tshirt fabric (WS up).
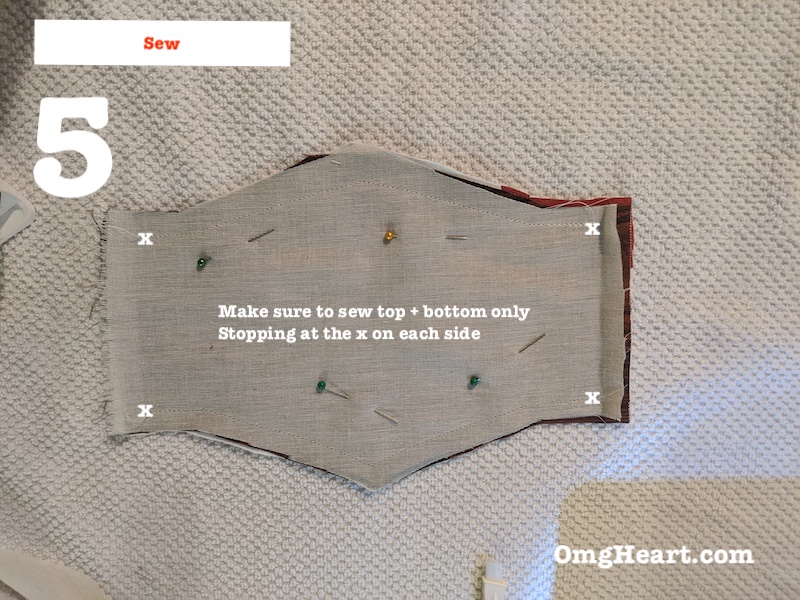
- Sew along top + bottom edges using a 1/2″ seam allowance. (make sure to leave 1/2″ from right and left sides unsewn!)
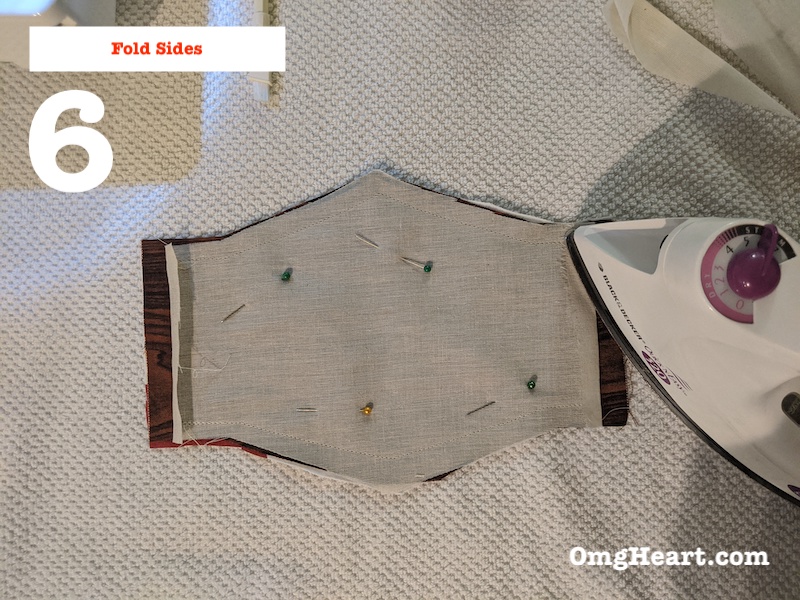
- Fold and press right and left (unsewn) flaps in. Press seams open here too.
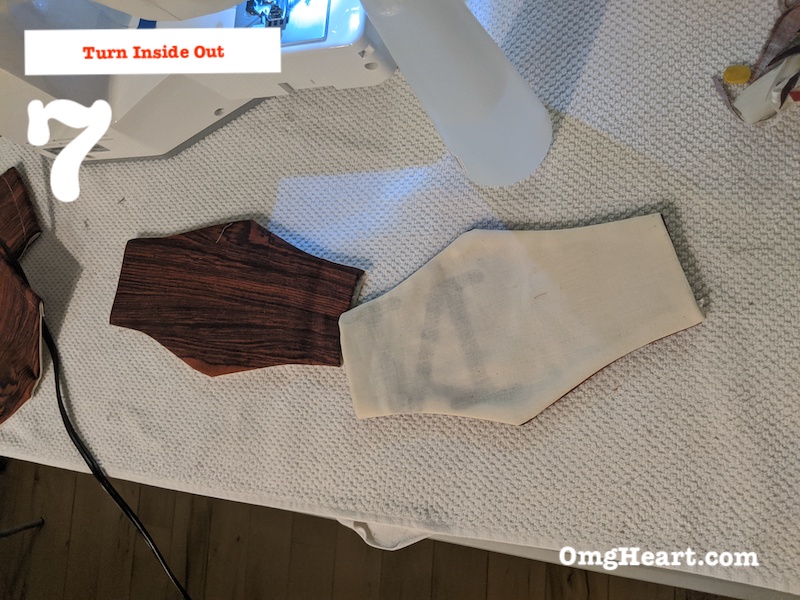
- Turn inside out and press seams and sides.(make sure tshirt and muslin are on same side)
- Topstitch top and bottom seams for a neater finish. (optional)
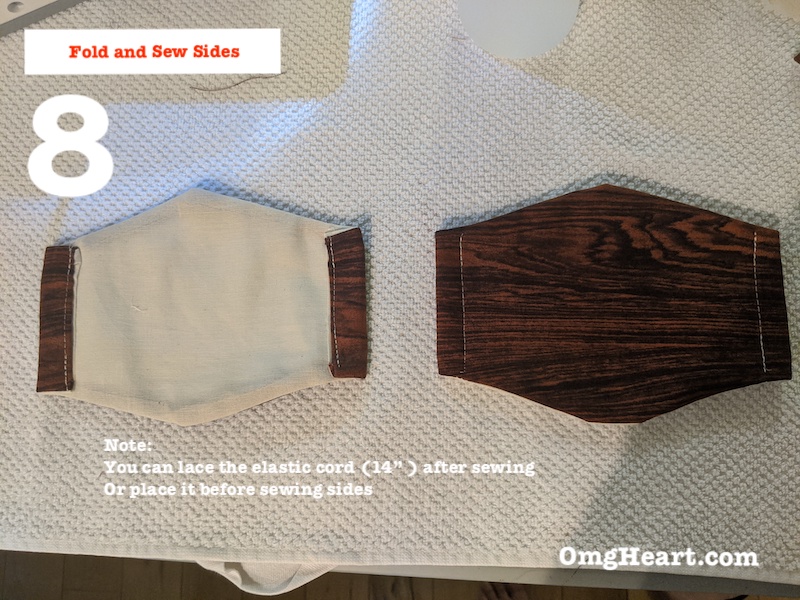
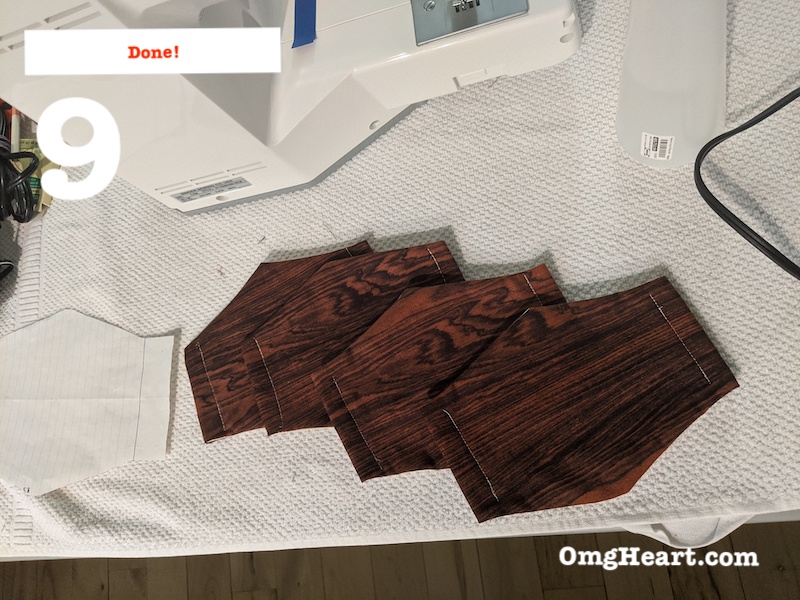
- Fold in sides about 3/4″ and sew. (do this with RS face up)
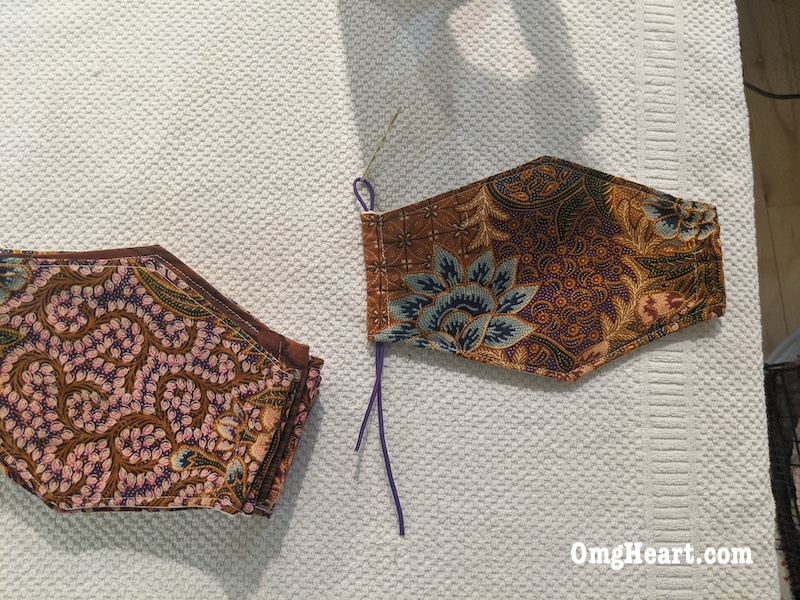
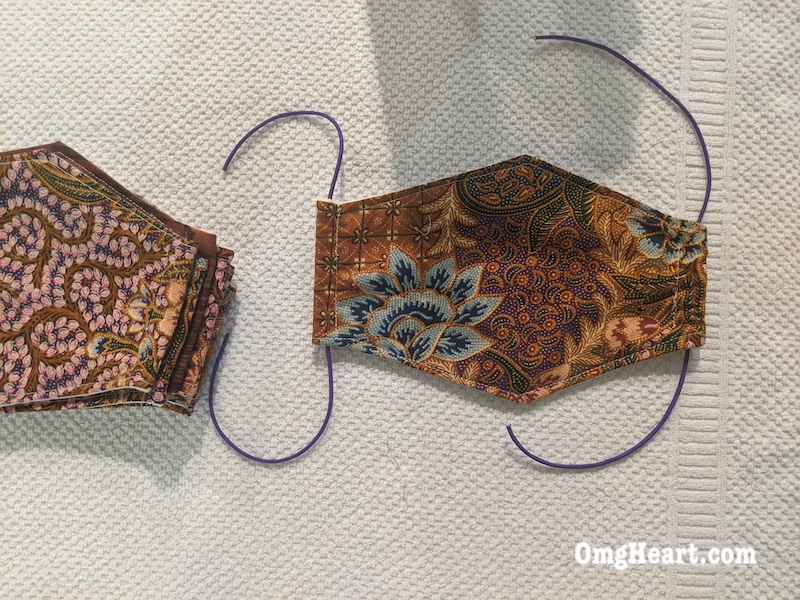
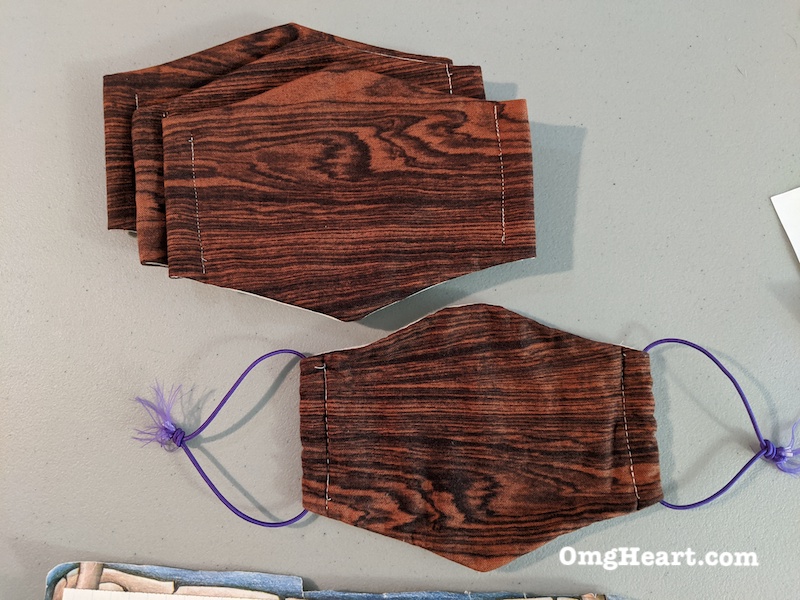
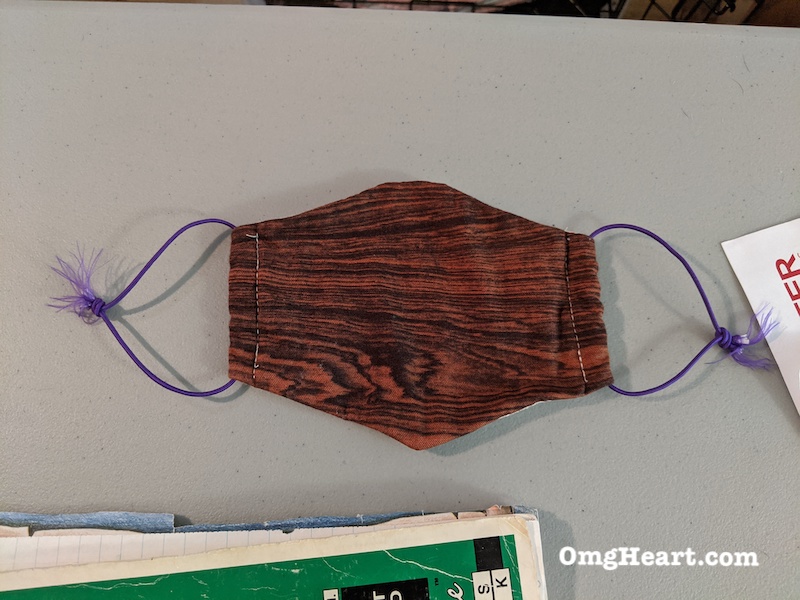
- Thread elastic cord through.
- Done! Wash and wear!
Finished Size
Width 7″
Height 5″
Fits Adult Faces
Care Instructions
Wash on Hottest
Dry on Highest Heat Setting
Disinfect by spritzing with water and ironing on Cotton Setting
Notes
This face mask is based on one I bought in Asia years ago. It’s lightweight, lightly padded, has elastic bands, and a comfortable inner lining.
Masks like these are sold in night market stalls to chain convenience stores like 7-Eleven. They’re worn for anything from personal hygiene and general courtesy to avoiding debris while riding around on your scooter or moped. Scooters and Mopeds are the most popular modes of transport.
Here are 9+ other great tutorials and resources on face masks from different patterns to materials.


DIY: Face Mask #3 Basic Wide | OMG! Heart
[…] face mask is constructed exactly the same way as my basic face mask tutorial. It’s still a 3-layer mask with simple construction except in a wider style and uses 2 […]
DIY: Face Mask #2 Baby and Toddler | OMG! Heart
[…] on my basic face mask tutorial, it’s still a 3-layer mask except these are sized down and “baby” features a […]
DIY: Face Mask #1 Basic – DIY Face Mask Instructions
[…] This content was originally published here. […]