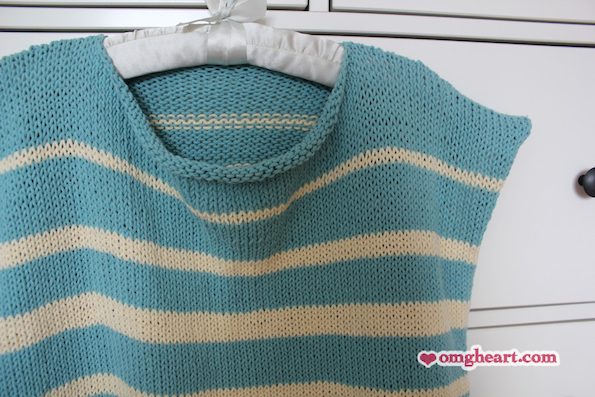
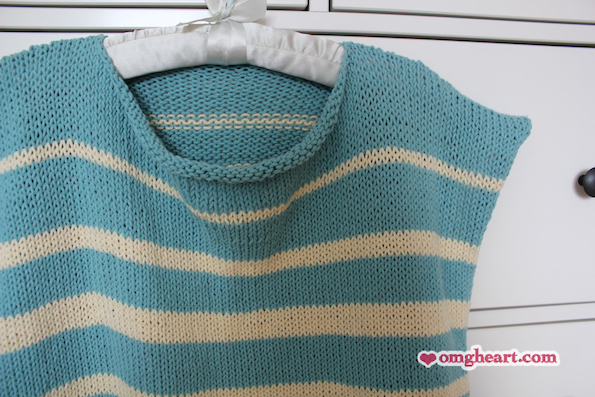
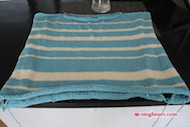
Perfect for summer at the seaside! At the beach, on the boat, or biking! This summery medium weight top is great for mornings or casual evenings out. It’s also super simple. Just make 2 big rectangles, join them together, and voila! The entire project also uses the classic Stockinette Stitch. EZ PZ.
Yarn
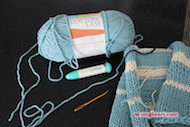
3 Balls Lion Brand Yarn Cotton-Ease, Seaspray (830-123), Medium Weight, 50% Cotton 50% Acrylic, 207 Yards, $7.69
2 Balls Lion Brand Yarn Cotton-Ease, Almond (830-099), Medium Weight, 50% Cotton 50% Acrylic, 207 Yards, $7.69
 Needles
US 9 Knitting Needles Circular (5.5mm)
Skill Level
Advanced Beginner
Measurements/Sizing
Finished Dimensions (Approx.):
Width 22 Inches
Height 20 Inches
One Size Fits All
Stitches
Stockinette Stitch:
Knit all odd rows (or Right Side rows)
Purl all even rows (or Wrong Side rows)
Pattern
Cast on 85 sts. (Alice Cast-On)
Rows 1 – 14: 14 Rows Blue
Rows 15 – 16: 2 Rows White
Rows 17 – 26: 10 Rows Blue
Rows 27 – 30: 4 Rows White
Rows 31 – 38: 8 Rows Blue
Rows 39 – 44: 6 Rows White
Rows 45 – 54: 10 Rows Blue
Rows 55 – 58: 4 Rows White
Rows 59 – 66: 8 Rows Blue
Rows 67 – 68: 2 Rows White
Rows 69 – 82: 14 Rows Blue
Rows 83 – 90: 8 Rows White
Rows 91 – 96: 6 Rows Blue
Rows 97 – 98: 2 Rows White
Rows 99 – 108: 10 Rows Blue
Bind off.
Make one more panel following the above
pattern for a total of 2 panels.
Assembly
– Weave in ends.
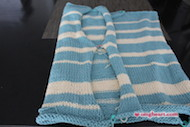
– Turn upside down so First Row is at the top (neckline) and face Wrong Sides together.
– Pin together where arm and neck holes should meet with locking stitch markers. Try on the piece to see if the markers work. Adjust accordingly.
– Turn inside out (so Wrong Sides are on the outside). Whipstitch together sides and top sides leaving middle and armholes un-stitched.
– For Top/Neck: Whipstitch about 7 inches in on each side leaving a 7.5 inch wide neck opening.
– For Sides/Armholes: Whipstitch about 10 inches up on each side leaving a 10 inch high armhole opening. (Basically up to the top edge of the 4th white stripe from the bottom)
– Crochet edges of armholes to keep from rolling inwards if desired.
Notes
– Knits up quick! Dedicated knitters can knit this up in about a week or so! My least favorite part is weaving in ends…
– I actually made the front panel larger than the back panel to give the neckline some slouchiness. About 95 stitches wide for front and 75 stitches wide for the back panel. Two equal panels is easiest to work with though.
– I did not use a full 5 balls. I used just over 2 balls of the blue and just over 1 ball of the white.
– Change to a new color on the Right Side of work (or in this case a Knit Row) only.
– I made these stripes using good old-fashioned eyeballing! However, you can also get irregular stripes by using this handy Random Stripe Generator found here, http://www.biscuitsandjam.com/stripe_maker.php.
– Create a size that fits you by using the stitches per inch I got while working up my project as a gauge. Or knit up your own 6in x 6in swatch for a more accurate gauge. Just make sure to increase the number of balls you buy accordingly.
Stitches per Inch on US 9 Needles:
4″ x 4″ = 14 stitches x 20 rows
28″ x 28″ = 100 stitches x 144 rows

