I was looking for some skirt patterns to try and here are my two faves. I loved the pleats and also wanted to try knitting in the “short rows” or “wrap and turn” technique. I am currently working on the Hey Mickey skirt. Both patterns are free!
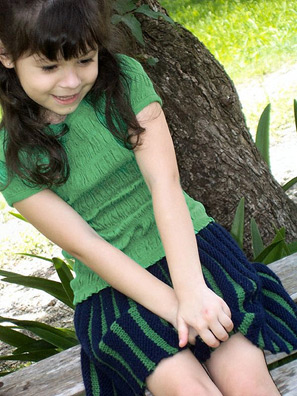
 Hey Mickey Skirt by Jacquelyn Landry
This is great for a beginner to intermediate knitter. This simple skirt is custom to your measurements. And your yarn choice! Make a gauge swatch with your preferred yarn and needle size. Fill in a few numbers based on the stitches per inch from your swatch, height of skirt, and height of waistband and voila! You can use the same pattern to custom create a skirt for your toddler or yourself!
This skirt is knit pleat by pleat instead of from the top down. So you only change colors after each pleat and can try on the skirt as you go, just wrap around your waist with the pleats going vertical to see if it fits! It’s done when it wraps comfortably around your waist. [pdf]
Full Pattern:
http://www.ravelry.com/patterns/library/hey-mickey
http://knitty.com/ISSUEspring07/PATTmickey.html
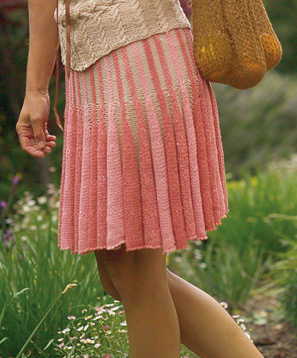
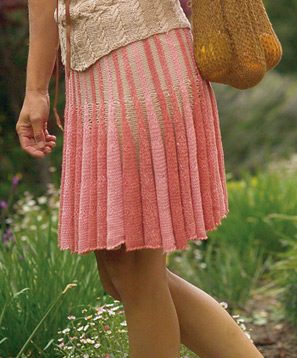
 Ashley Skirt by Louet Yarns
This is an intermediate to advanced pattern that’s also a pleat-style skirt that’s very stylish and comes in two looks! It’s a really nice pattern especially considering it’s free! The skirt is done in Louet Euro Flax, a gorgeous linen yarn!
The instructions are hard to decipher at first but it includes a crochet cast on, needle changes, many colors, and a mix of knitting techniques like short rows and picking up stitches. [pdf]
Full Pattern:
http://www.louet.com/pattern_details/ashley.shtml
“Short Rows” or “Wrap and Turn”
Purl Bee has a lovely simple straight-forward tutorial on how to perform this technique here, Purl Bee Short Row Tutorial. In short, it’s a way to knit extra rows into a piece partway through a row! It’s a great way to do shaping for style and fit in knitting. In this case, it makes a kind of built-in pleat and without much work!
An easy rule of thumb I use is:
1. Always slip the stitch first and always purl-wise
2. Move the yarn to the opposite side of where it is now
3. Do it again. Backwards. Slip the original slipped stitch back to the other needle (where it was before). Move the yarn back to the opposite side again (to where it was before). Done!
You have just wrapped the yarn around that stitch and thus completed a “wrap and turn”. Now turn your work over and continue just like you would a new row! Finish out the row and you have just completed one short row!

