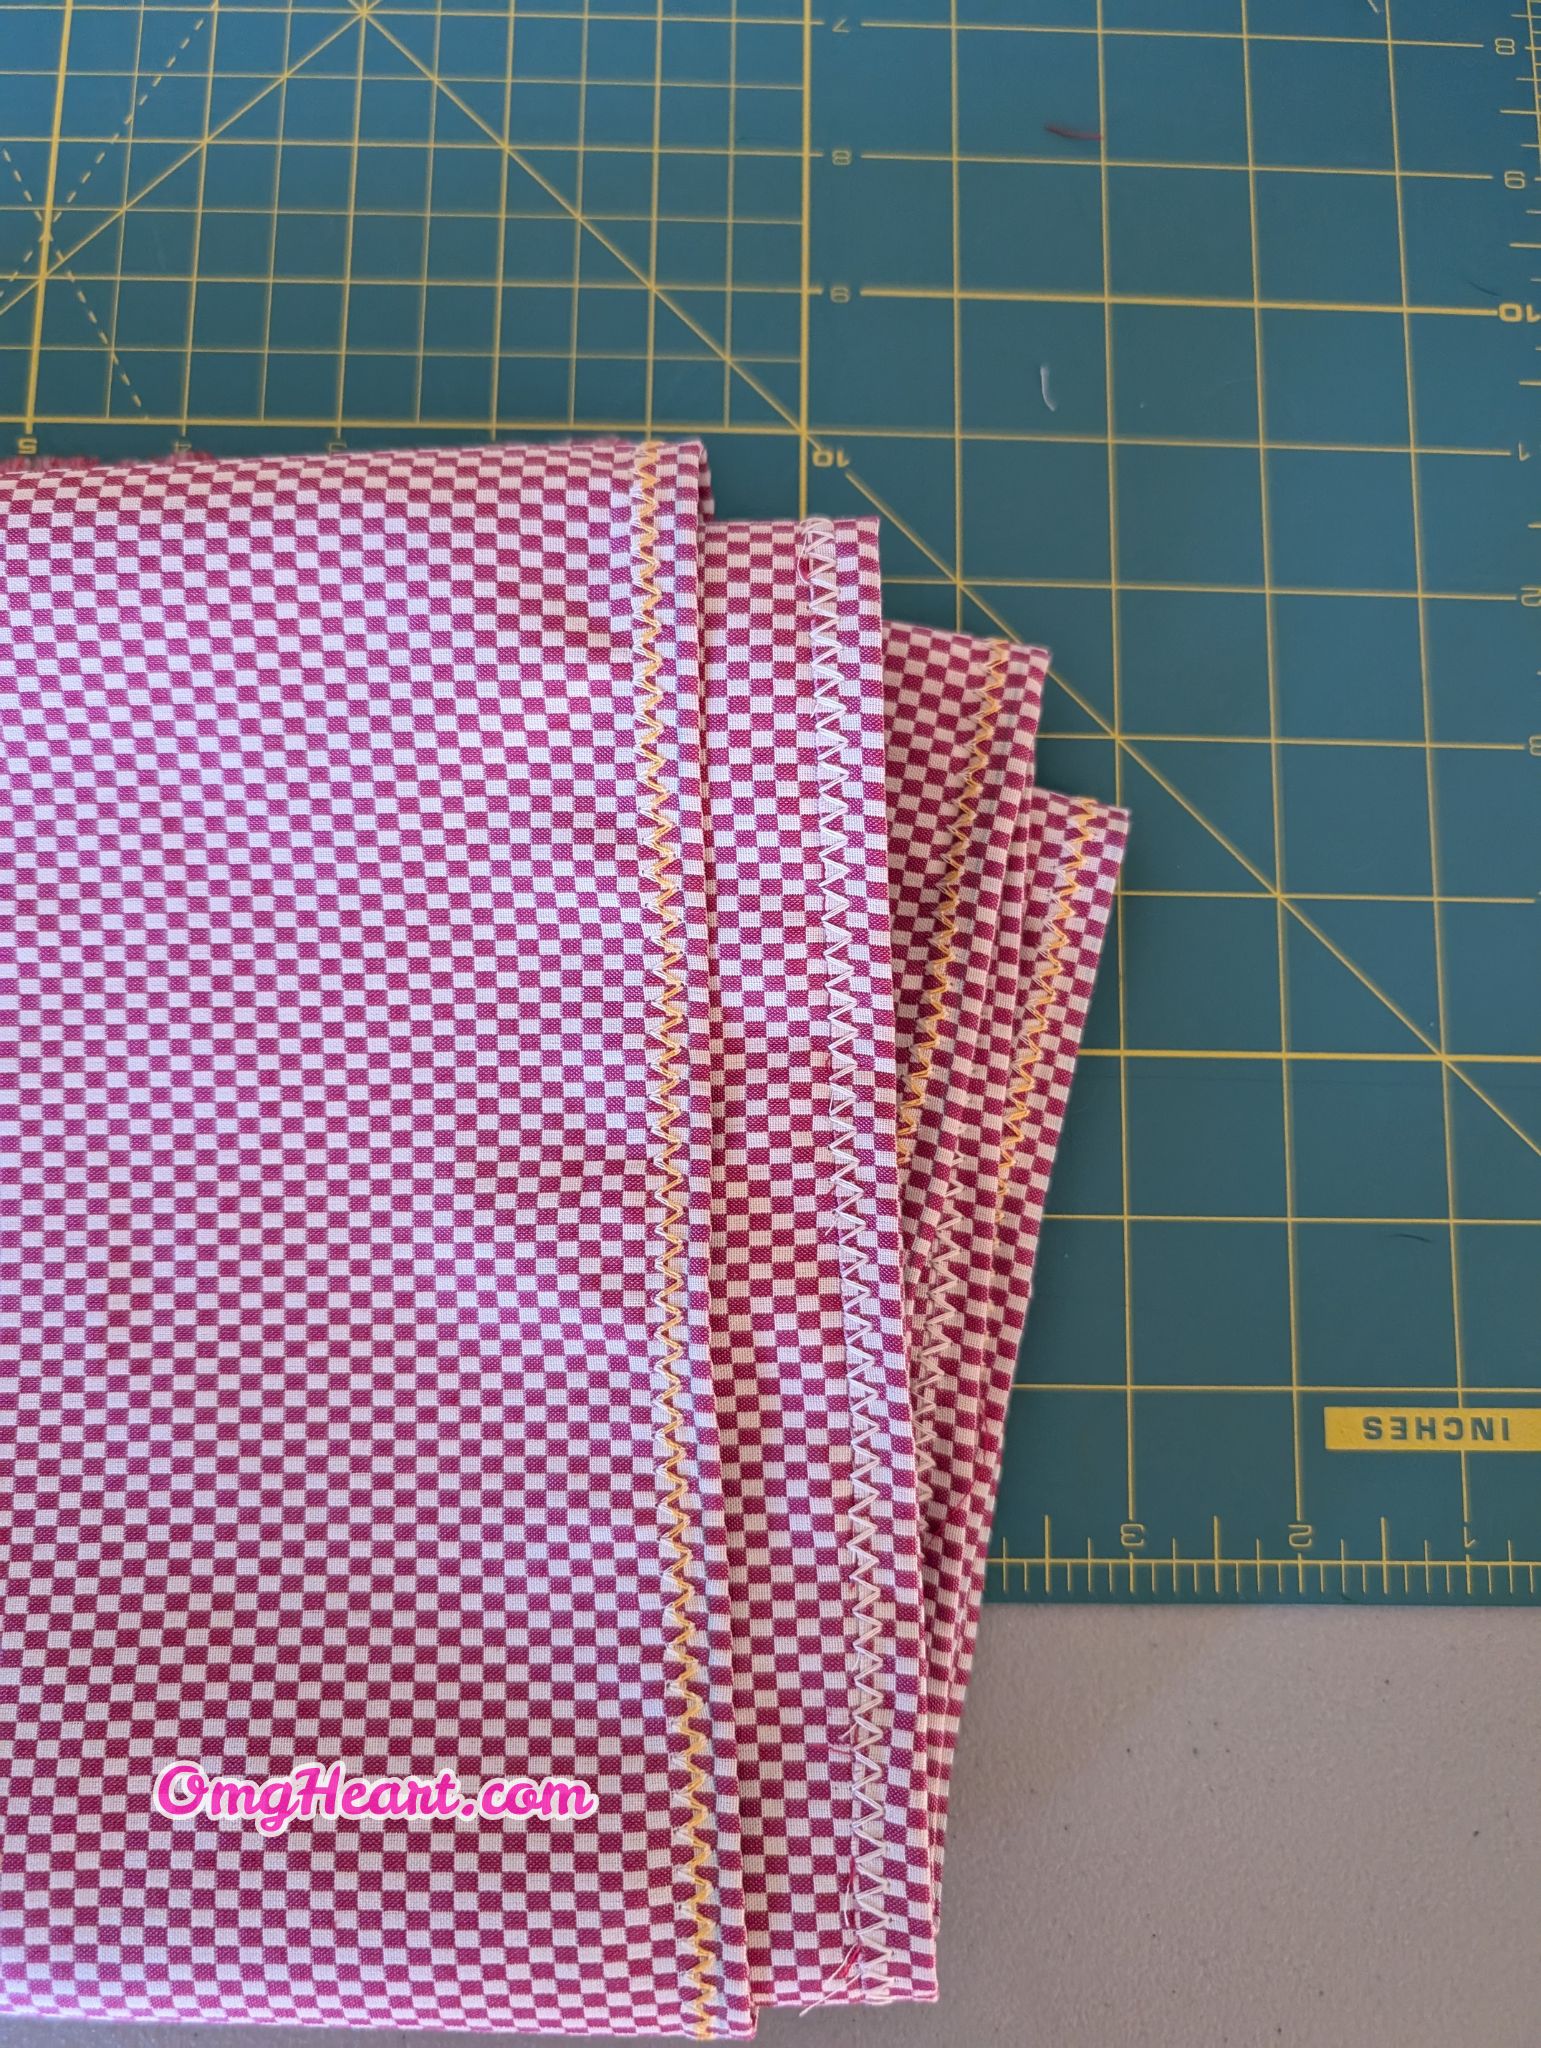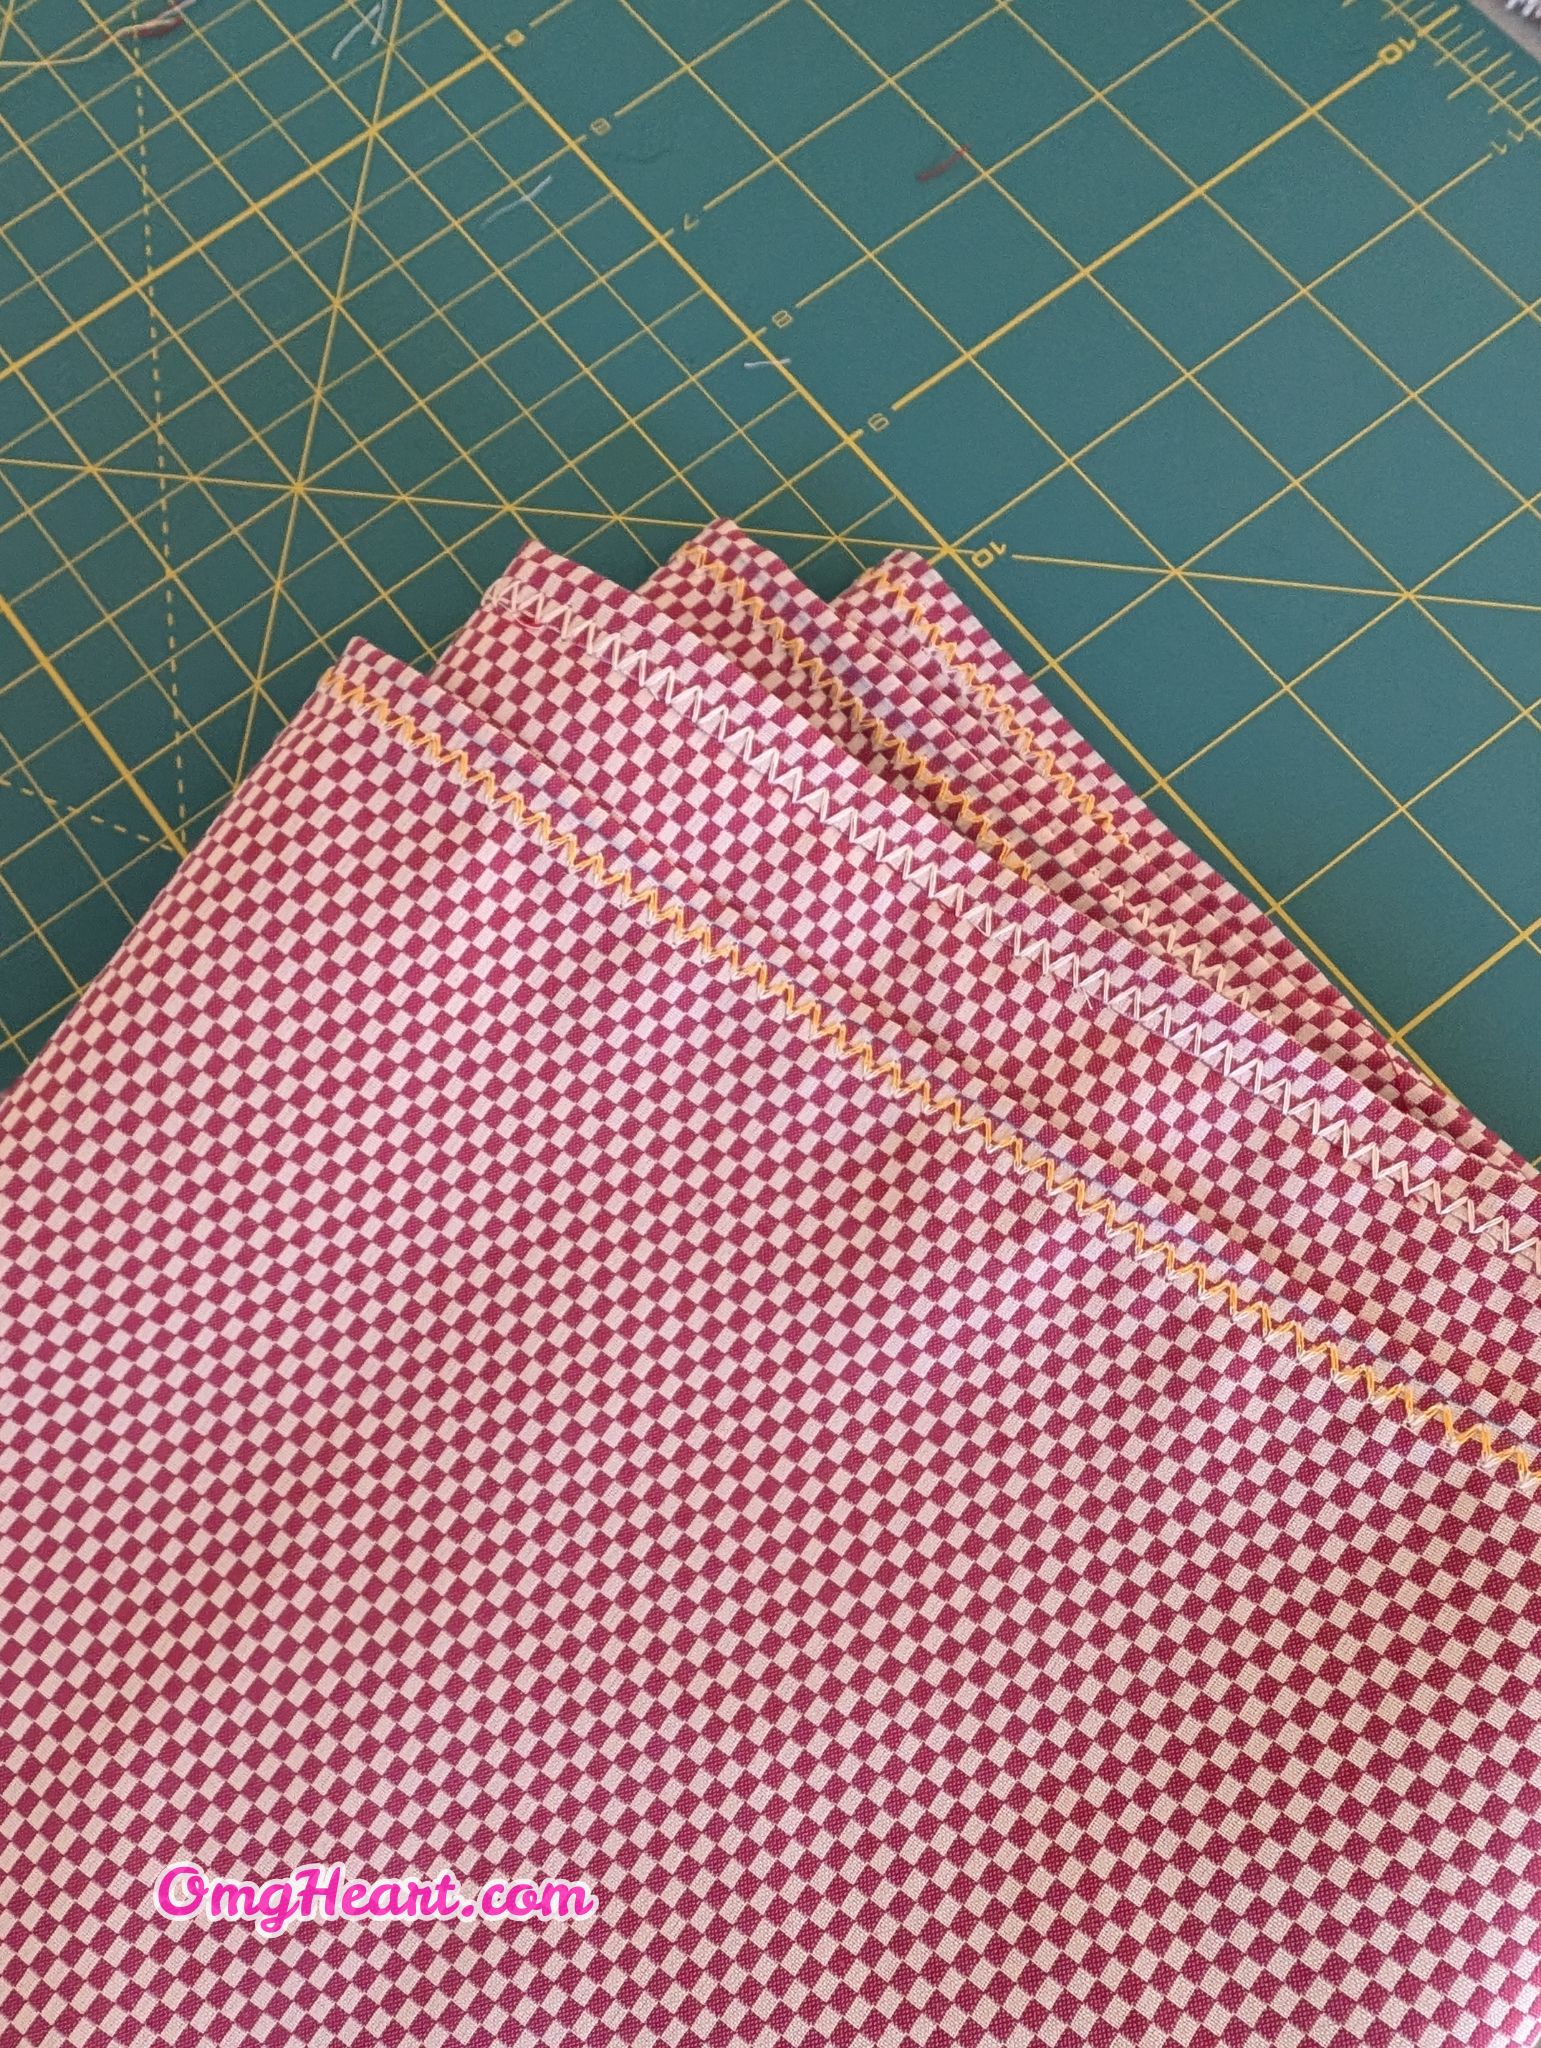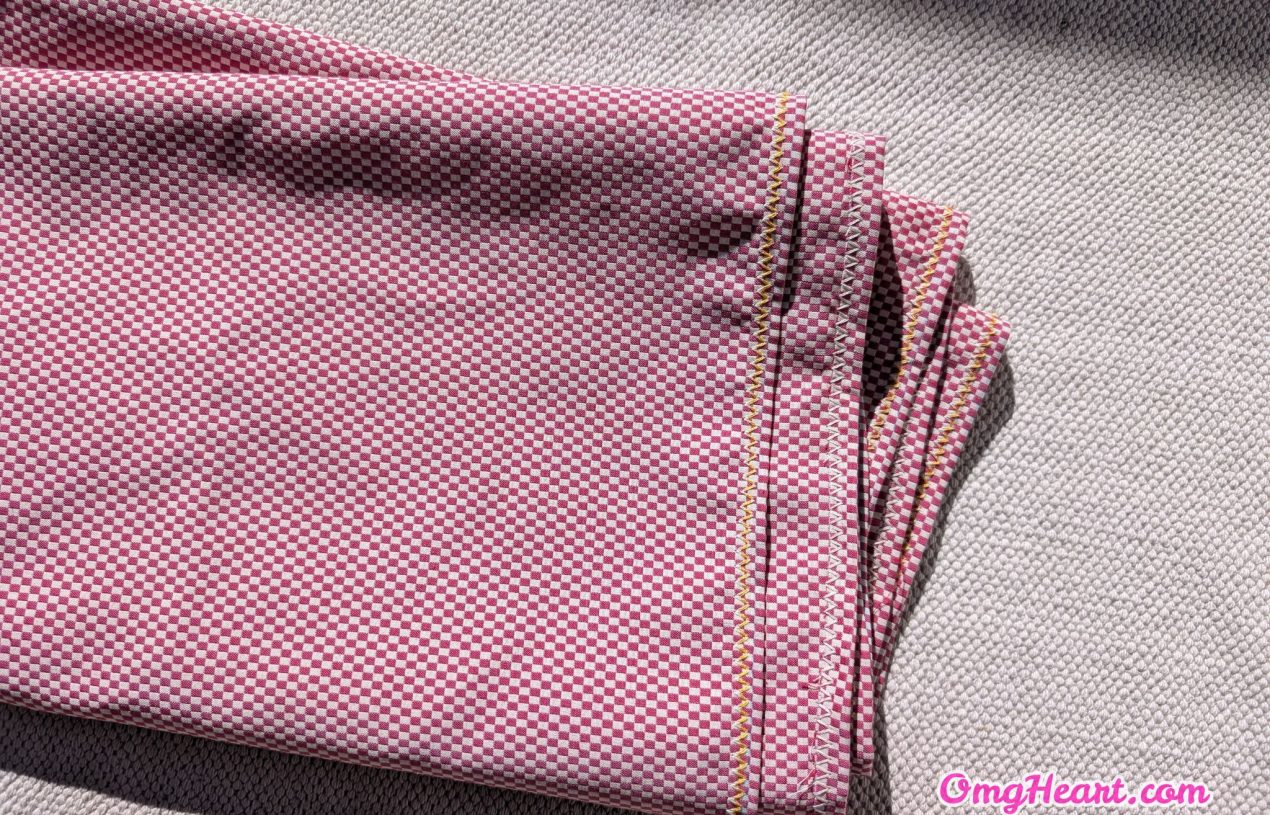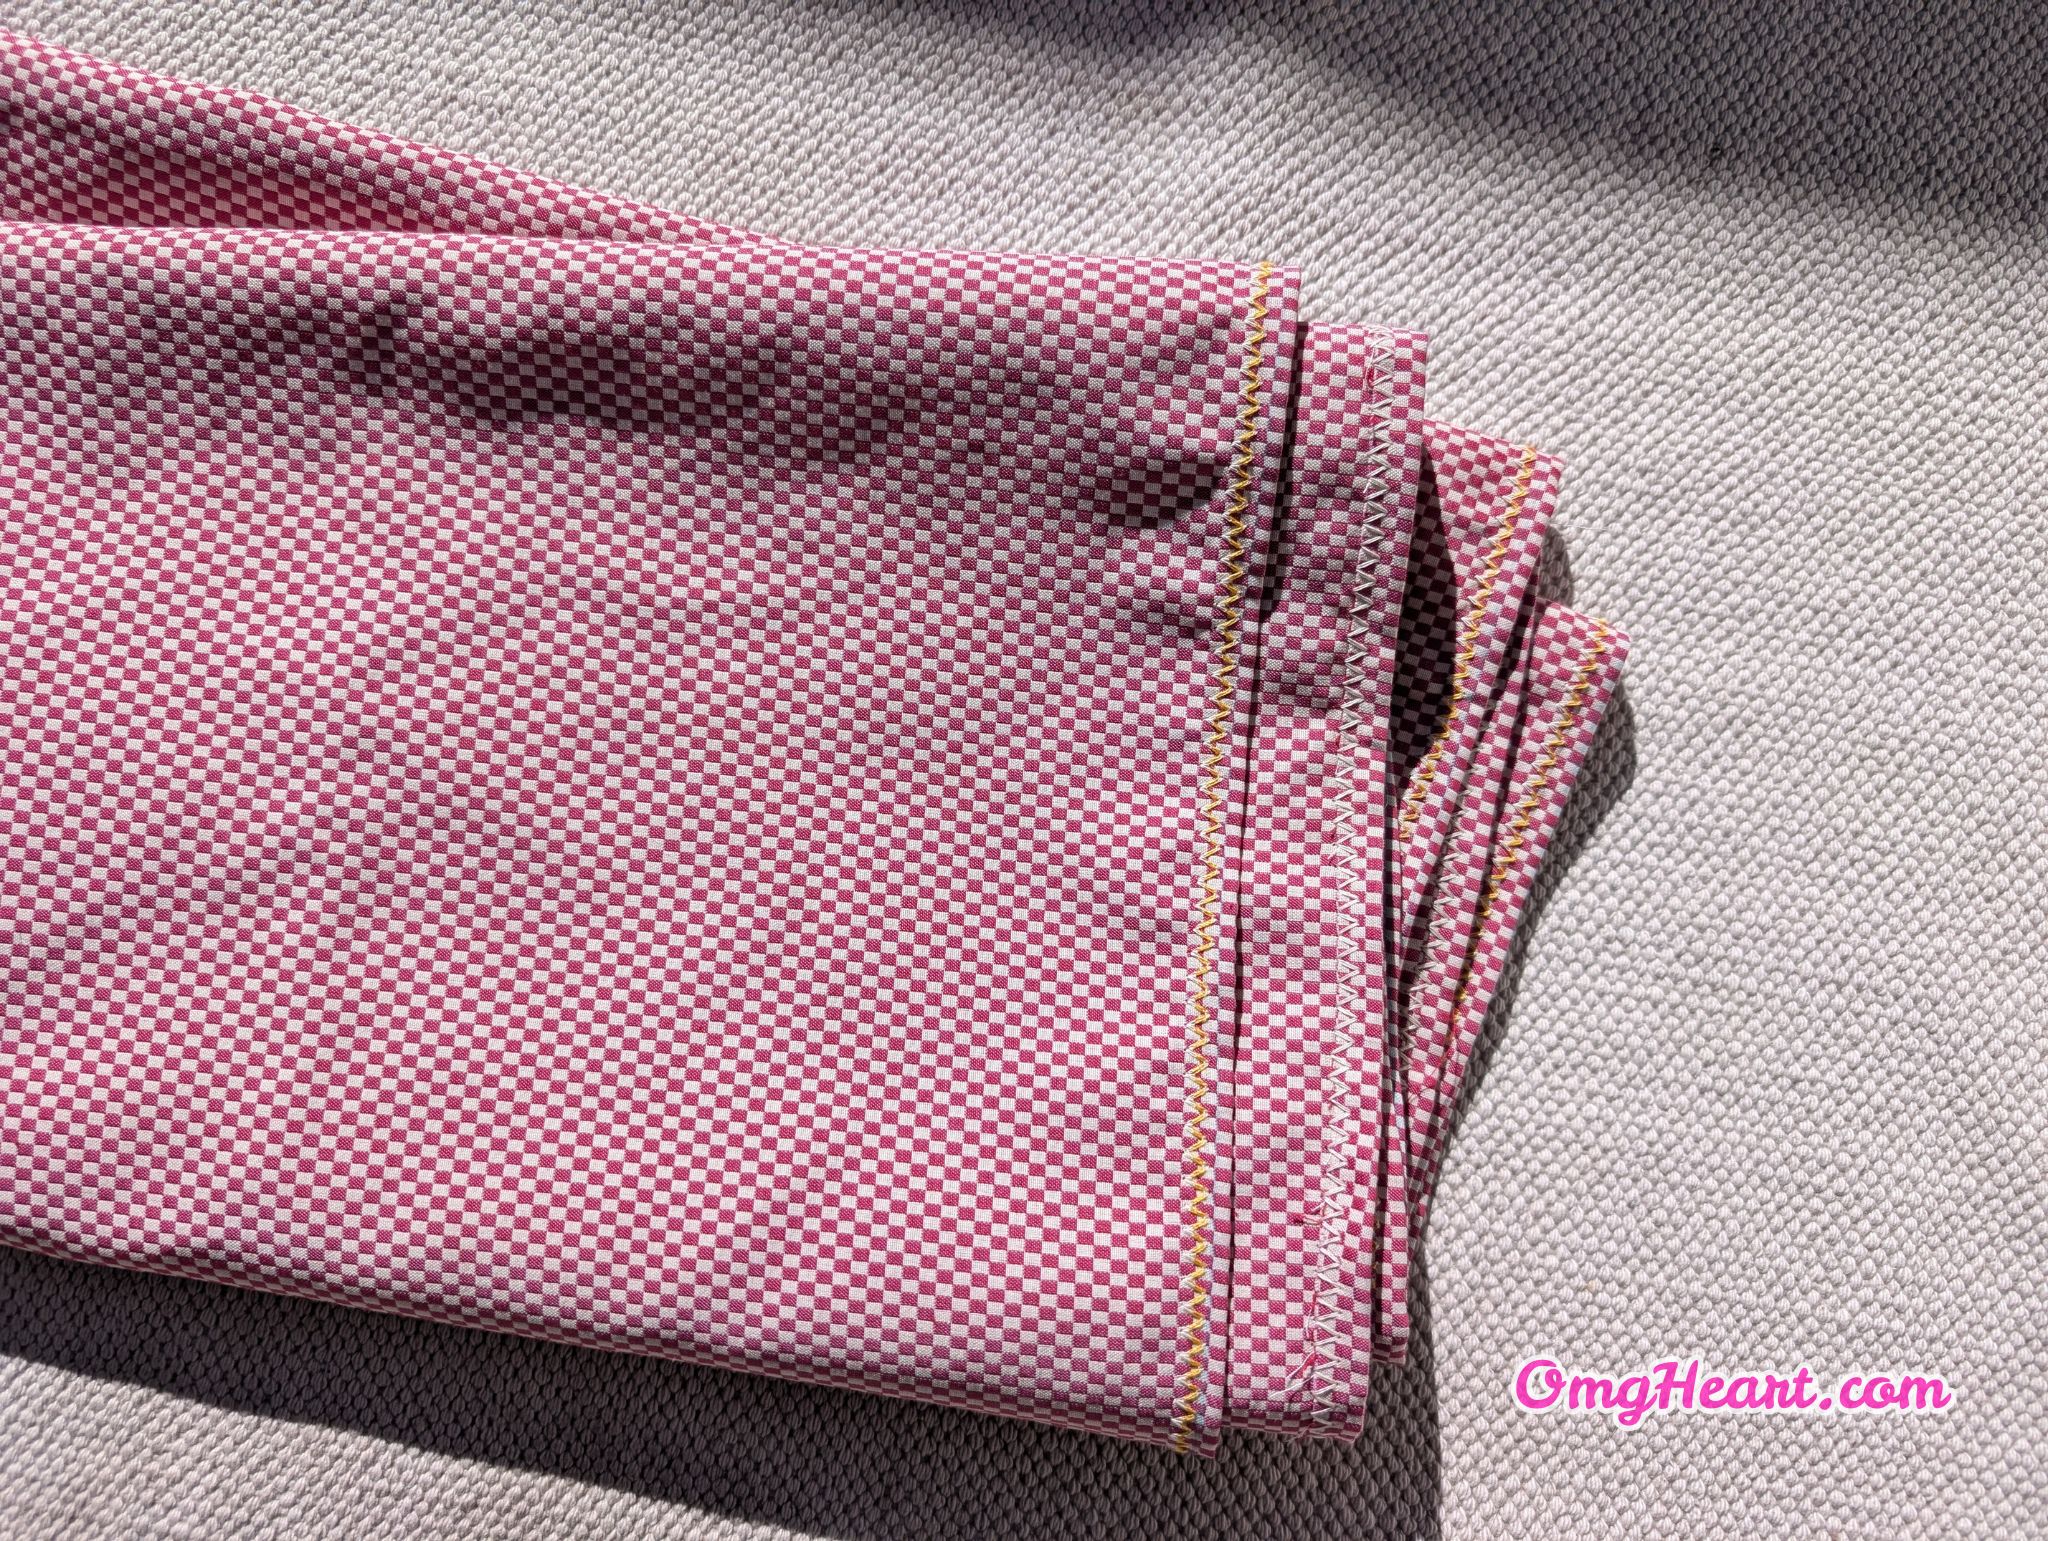
Super Easy Tablecloth with Decorative Border and Fringe! Excellent project for an easy Tablerunner as well. Or to use up that bolt of cloth sitting in your stash. I found this while cleaning out my fabric scraps, needed a dropcloth for my work surface… So just sealed this up in some key places and voila! No binding or fancy finishing required!
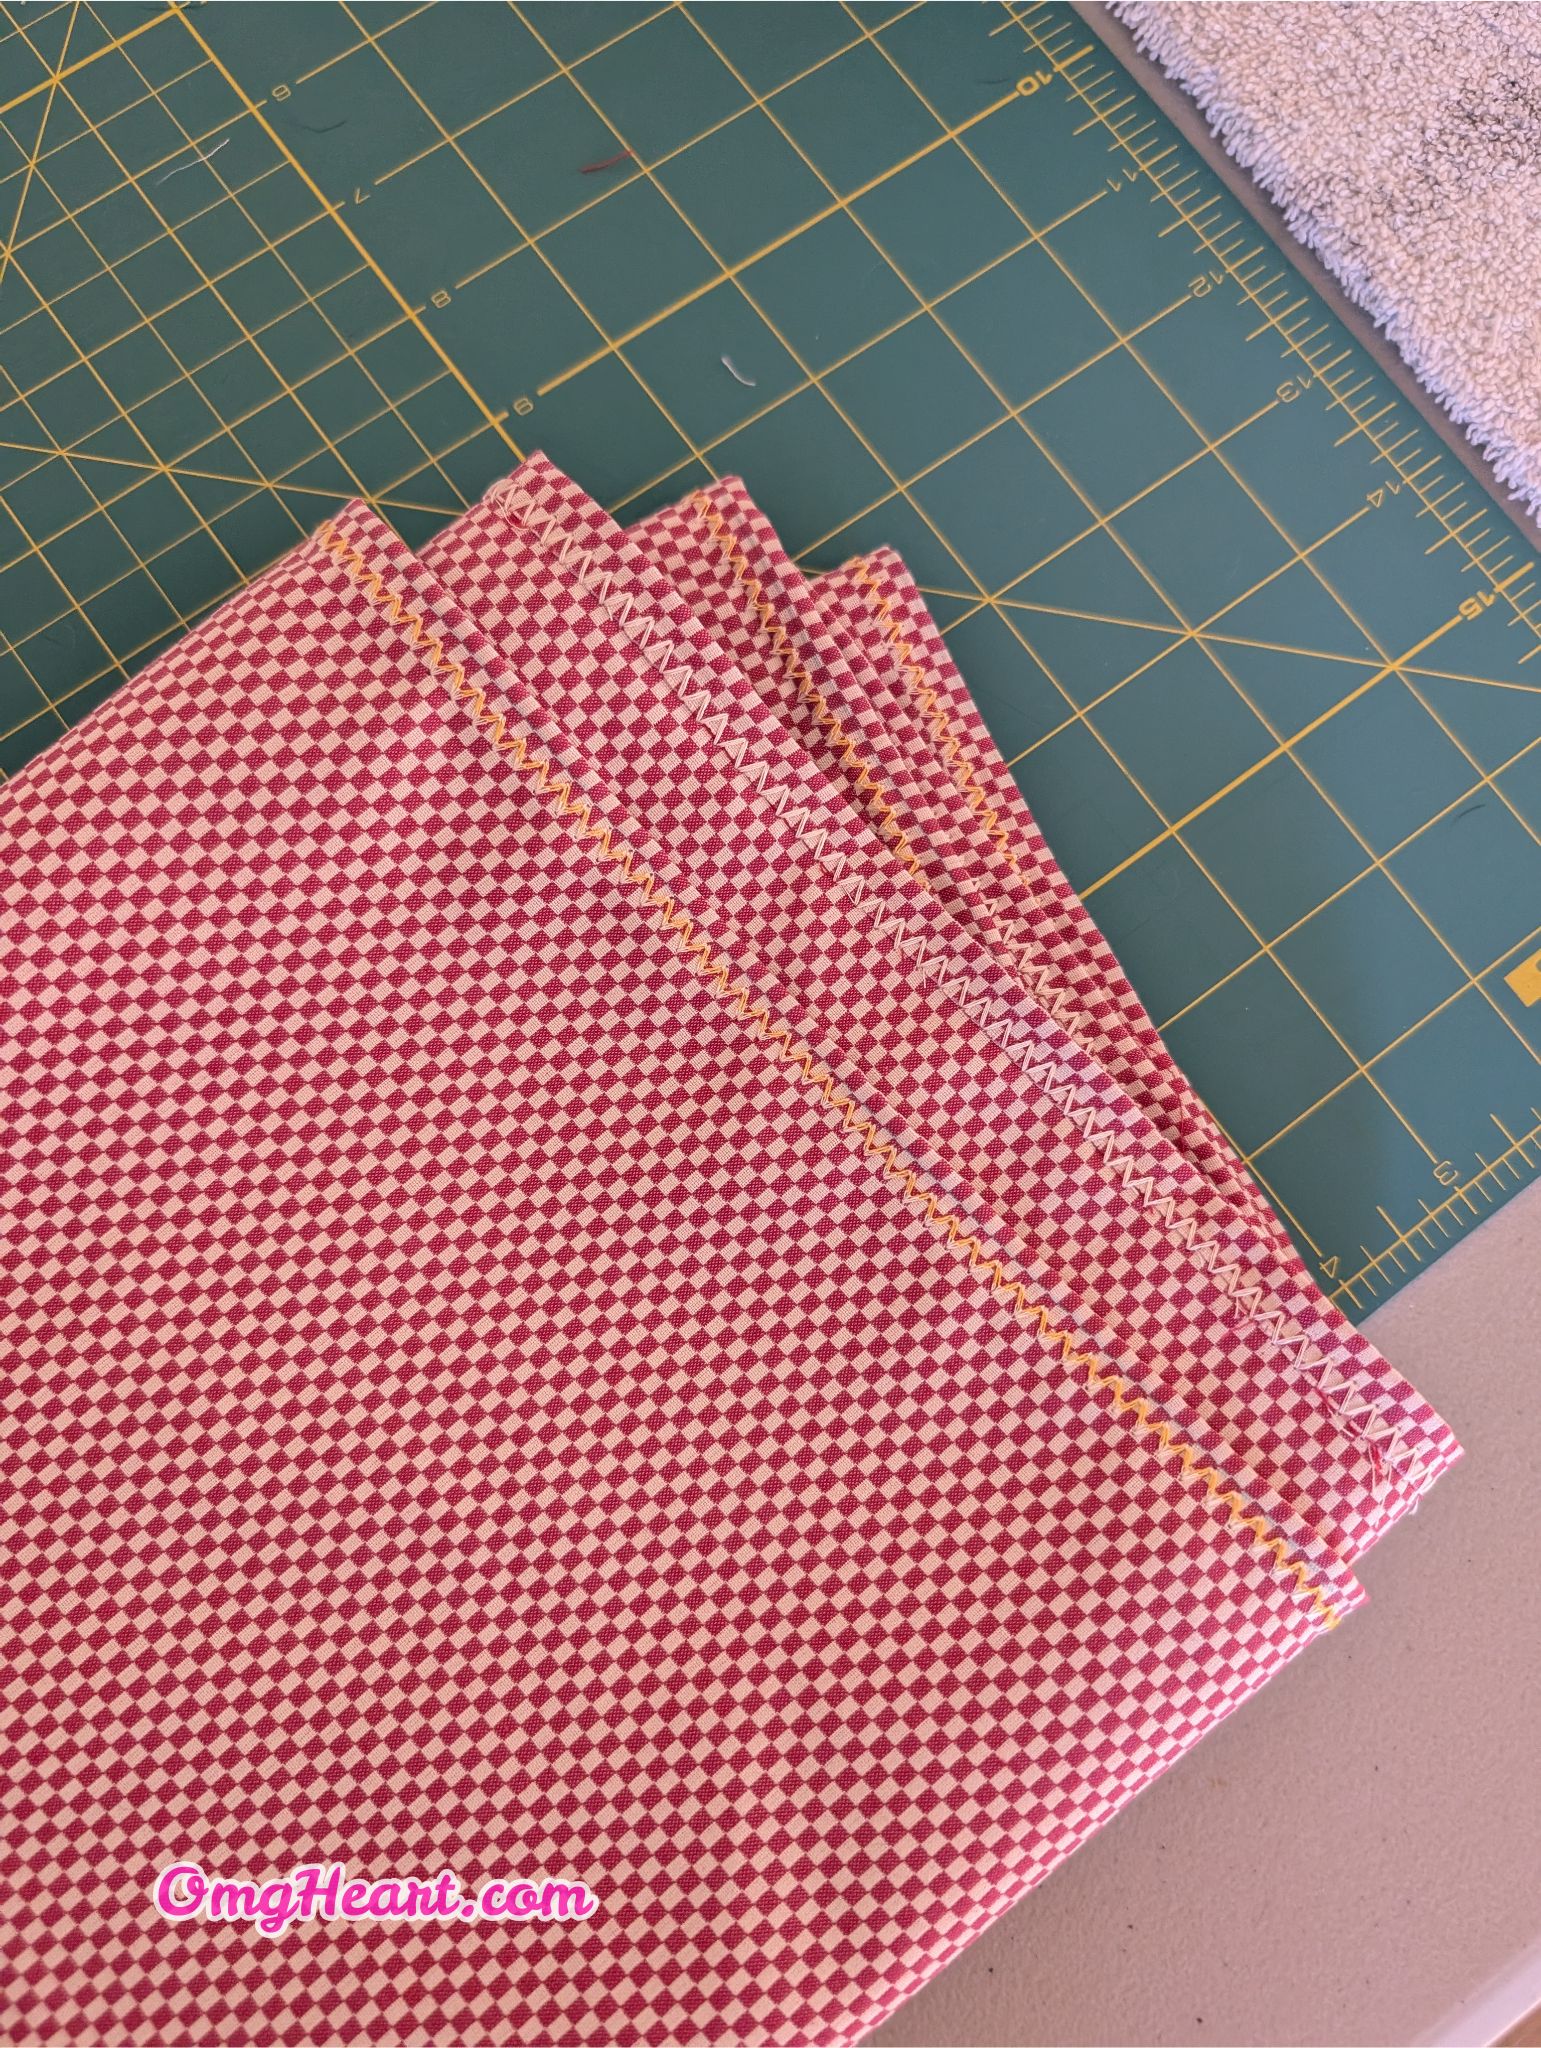
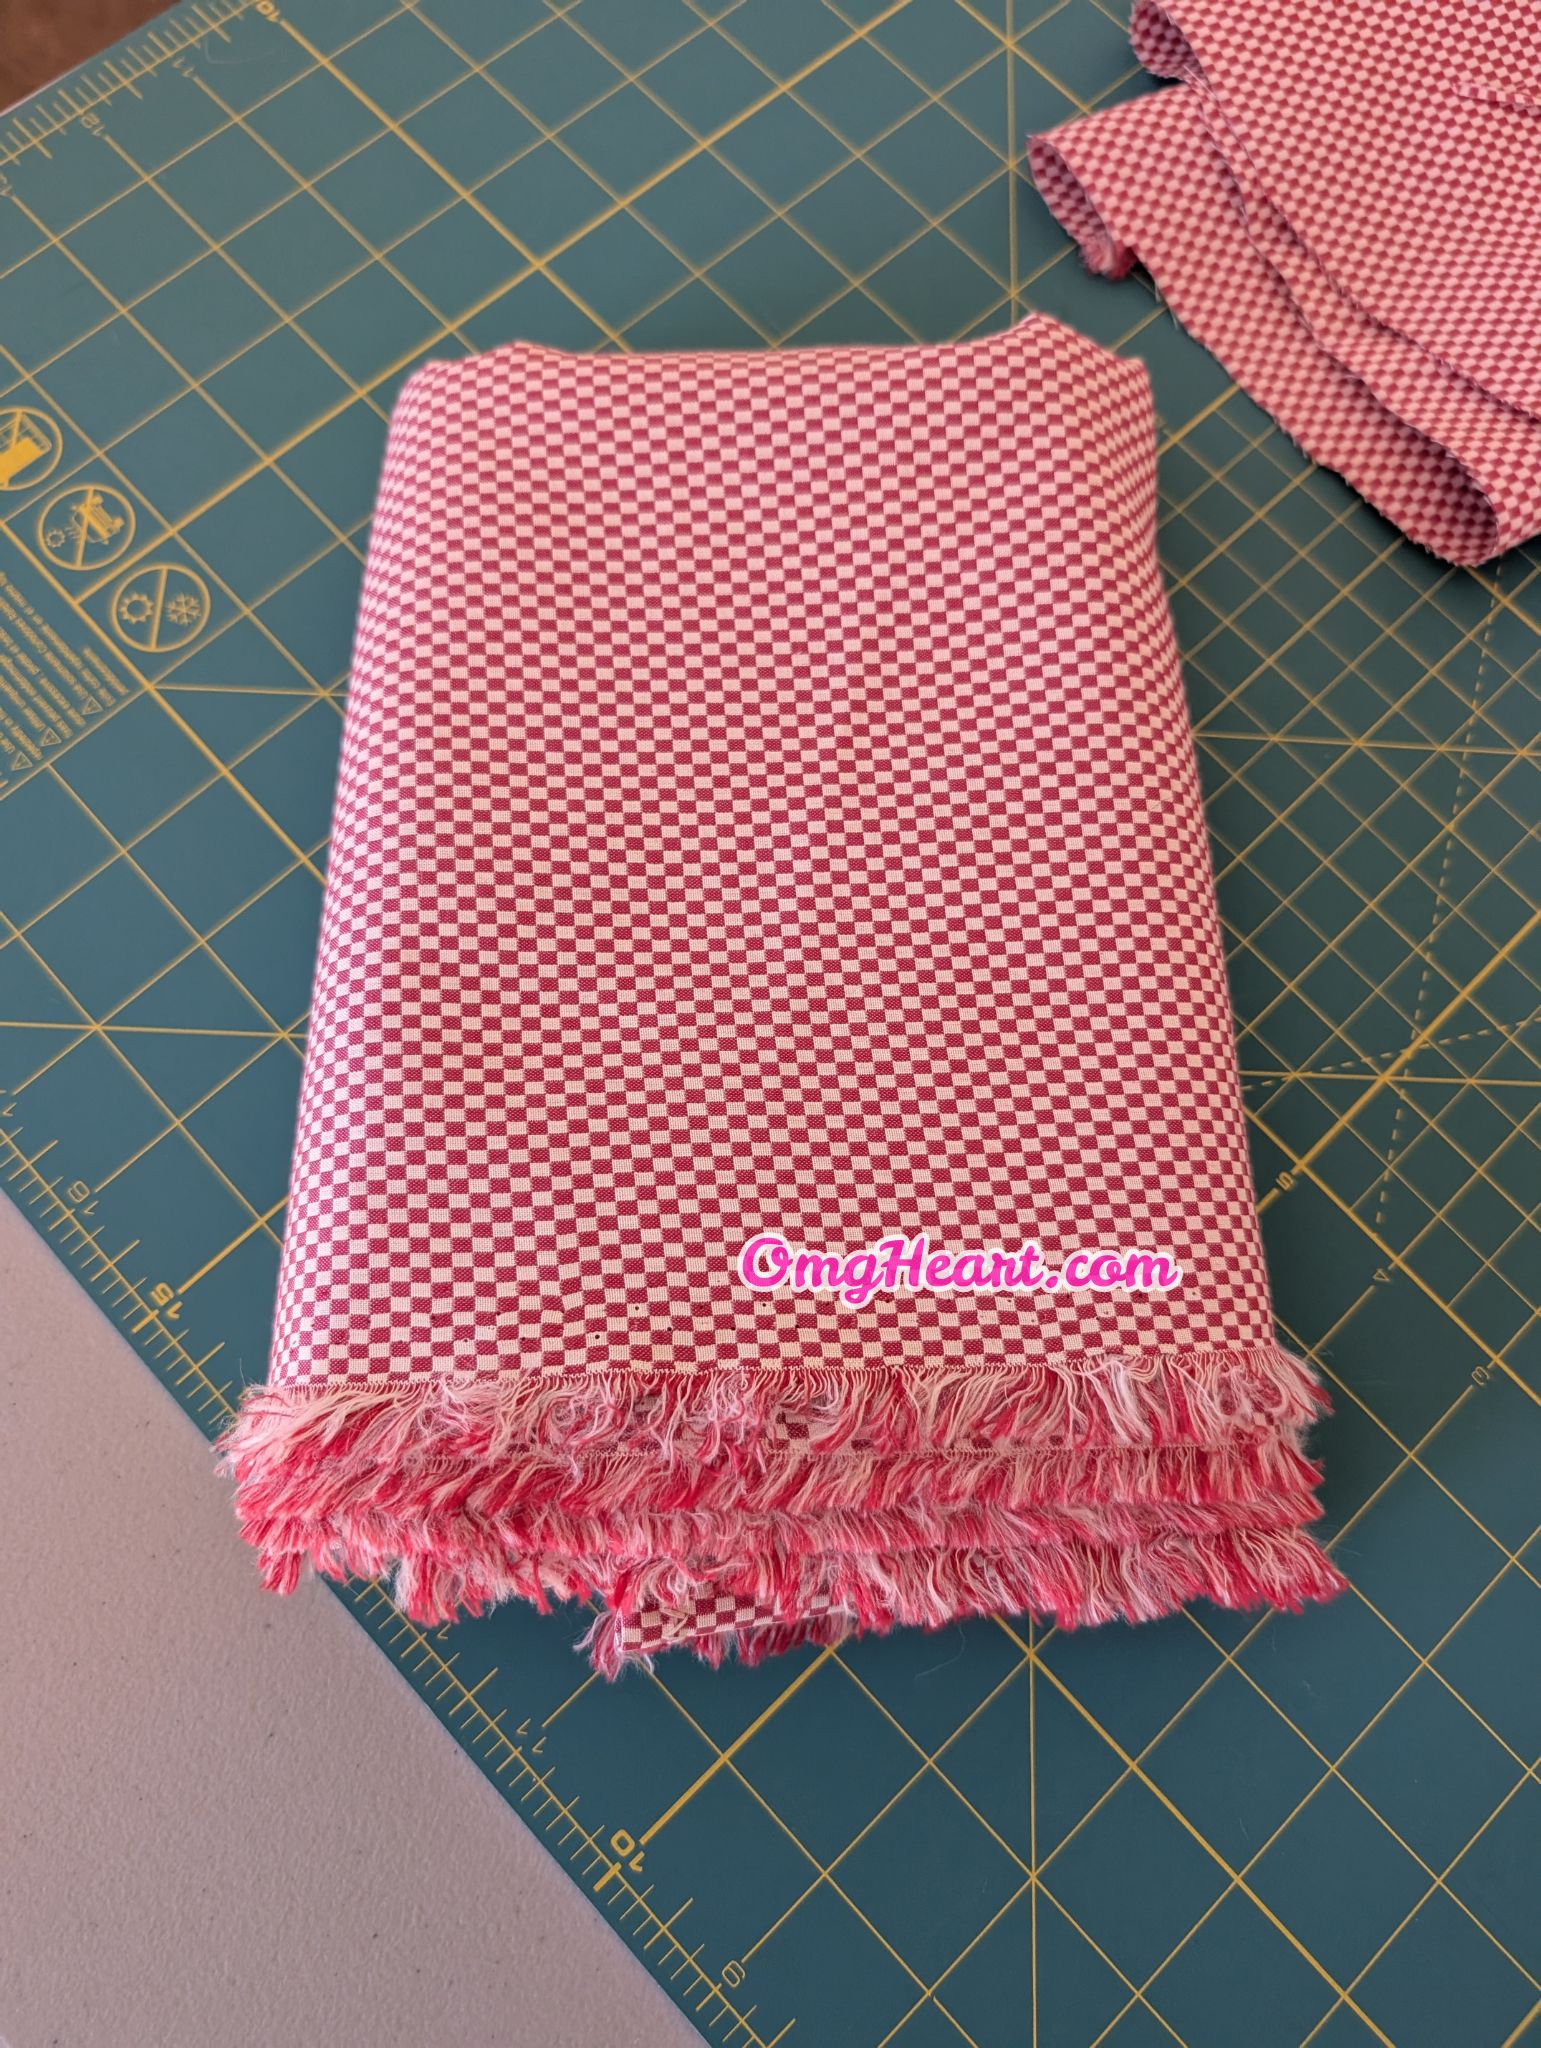
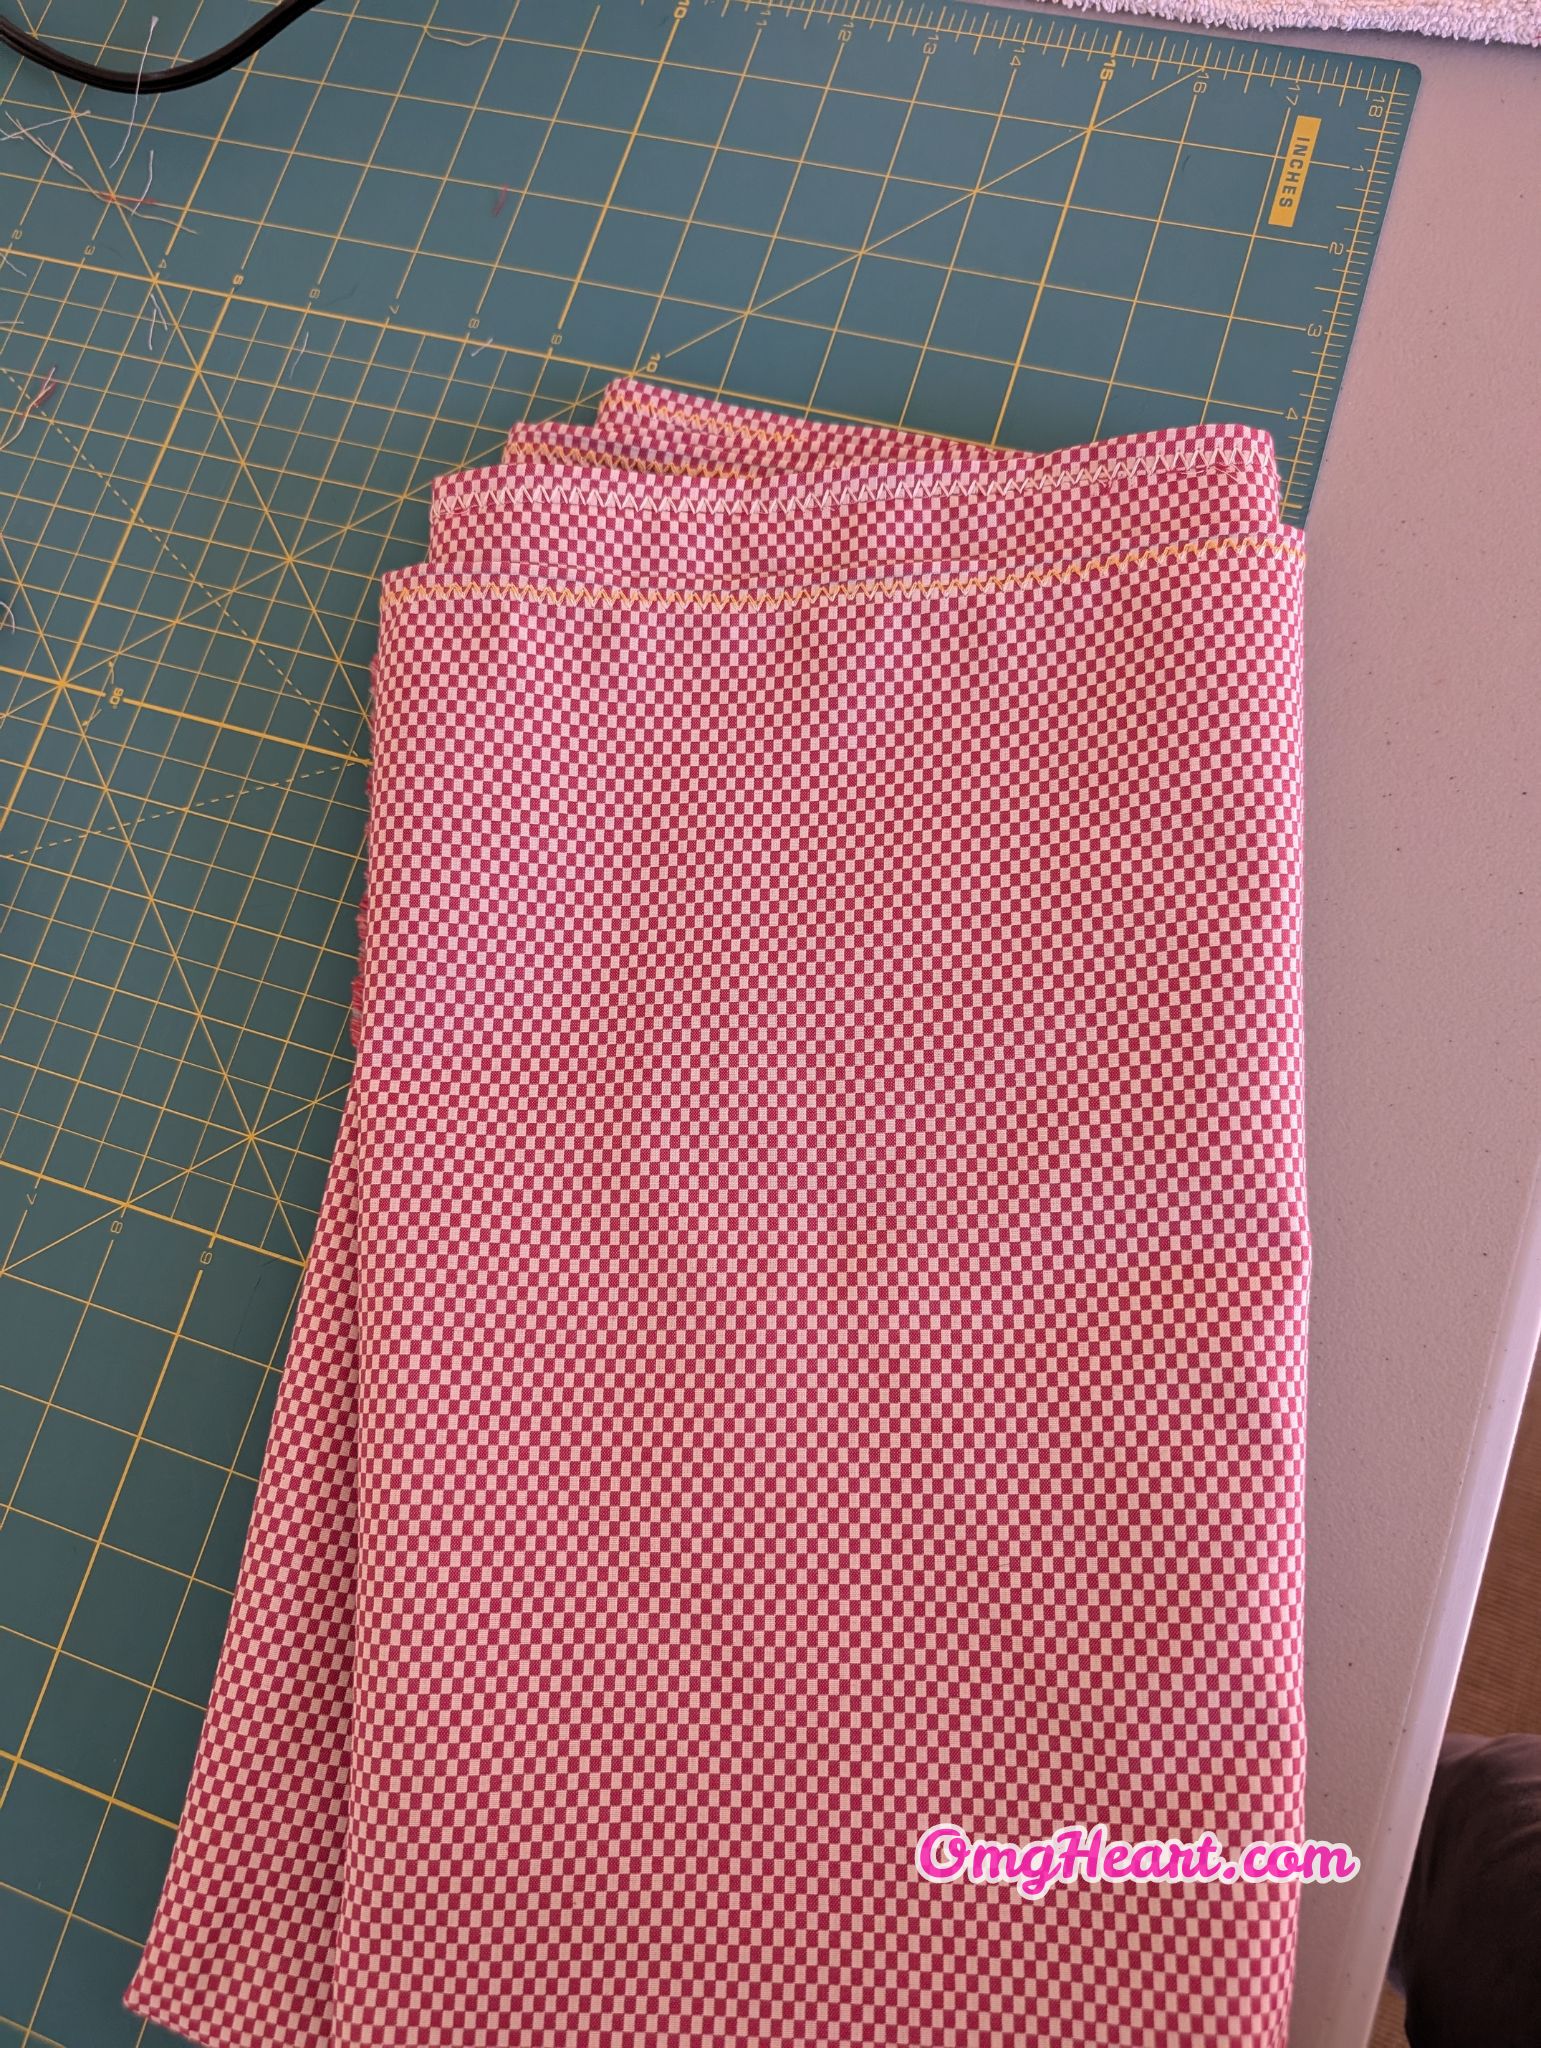
All you need to do is- select a suitable piece of fabric, select 1-2 threads in contrasting colors, then seal the raw edges with a super simple stitch that any sewing machine can accommodate!
- Trim raw edges as straight as possible.
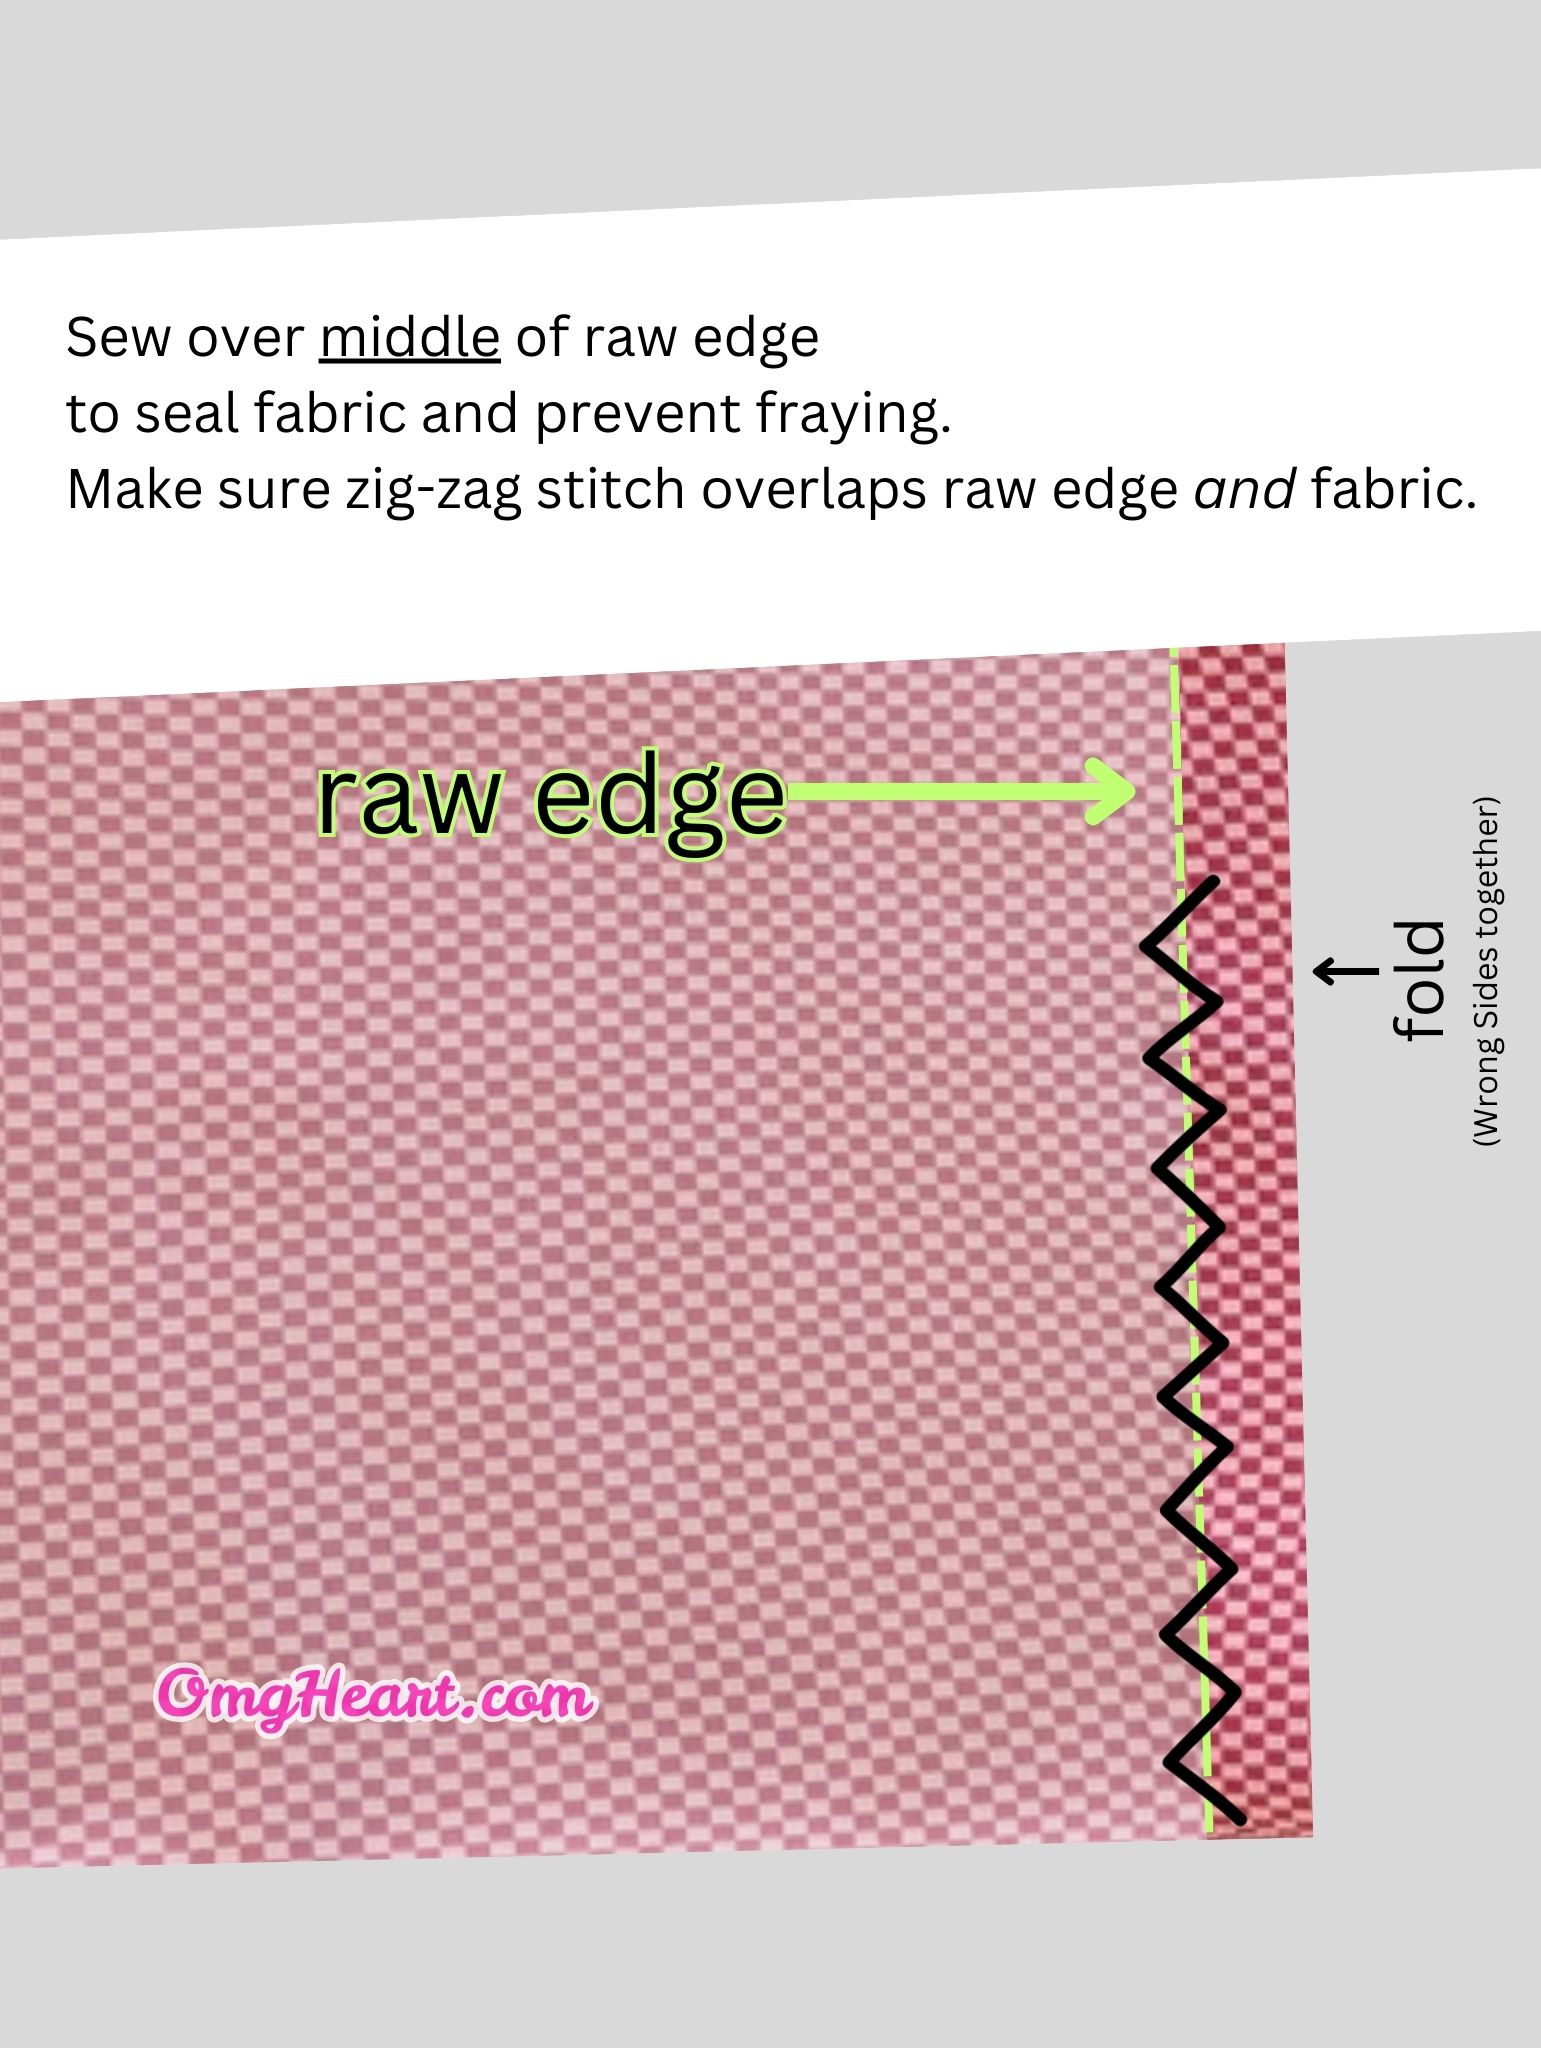
- Fold raw edge 1/4″ (or up 3/8″) inward.
- Zig-Zag Stitch across the raw edge.
If fabric is not reversible- Make sure to fold Wrong Sides together. Then make sure to load sewing machine with the colors in the right places. It’s easier to stitch this edge with the Wrong Side up, which means the bobbin should be loaded with the color that will be displayed on the finished side.
Choosing a Fabric
This is a Polyester/Rayon Blend (I think) with a wonderful sheen, weight, and drape that is perfect for tablecloth usage. It is durable, easy to clean, and the perfect material for this setting. The red checker print is also woven into the fabric rather than printed. Giving it a much more elegant look. e.g. Nice Italian Family Restaurant vs. Tailgate Picnic. Both are casual, one is just more polished.
This fabric is also reversible. So both sides are just as presentable.
Ideally, a fabric with a selvedge that is already fringed or comes with a border that resembles an attractive decoration! This helps but is not necessary.
Lightweight upholstery can give great options in materials, finish, and print. A nice linen with a complementary stitch in contrasting colors can make for simple yet ultra elegant look.
Any woven fabric of your choice that suits your personal tastes, vibe, decor, or theme will work! If the selvedge is not decorative, finish this edge with the same technique as above. Miter the corners, if desired.

Trimming Raw Edges
Cut a slit through one of the selvedges (factory-finished edge of fabric that is sealed) parallel to the raw edge (cut edge), then the opposite selvedge (slits should match up along the threadline), tear this strip firmly and quickly from the fabric to create a proper straight edge. Trim with fabric scissors to make sure edge is solid and not frayed. Make sure to cut the slit far enough away from the raw edge to comfortably clear any jagged edges. Do this to both raw edges.
Or “true up” the fabric as best as possible by stretching the fabric from corner to corner across the piece to align the weave. Then fold and trim neatly with fabric scissors. Unfold and clean up edges.
Trimmed Edge does not have to be precise before sewing. Just neat and aligned. I handcut mine with fabric scissors.
If you have a rotary cutter, quilting mat, and quilting ruler, you can use that too!

Choosing a Decorative Stitch
I chose Zig-Zag Stitch because this is what is usually used to seal fabric edges but also because it uses the least amount of thread! It is meant for utilitarian purposes rather than decorative. However, combining this stitch with a narrow seam allowance gives this a decorative look without any additional work!
Any decorative stitch that your sewing machine can accommodate (that is wide enough to catch both the folded raw edge and the fabric) is also suitable.
I used 2 different colored threads, Yellow for the bobbin thread, Pale Blue for the topstitch thread. Which just gave it a yellow + white look. This also gives an added embellishment while keeping it simple. An Aqua would have been a lovely contrasting color as well for this cherry red check design to really make the edge pop.
