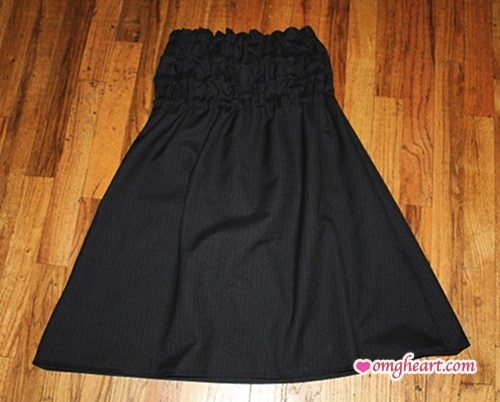
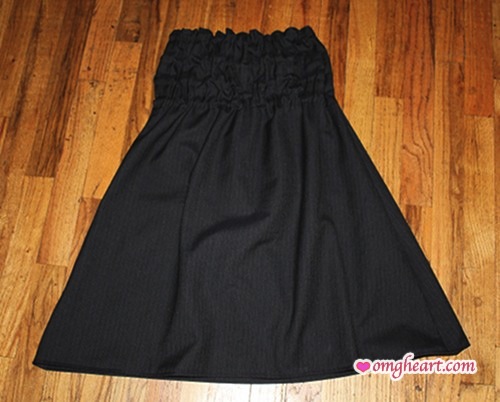
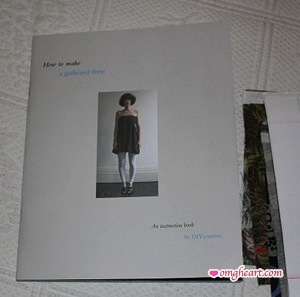
Here’s DIY Couture’s Gathered Dress. The above is the Flared Dress version with straight bodice as seen on Pages 16-17 and Page 47 of the book. More about DIY Couture UK.
Width: Chest 22 inches, Hem 27 inches
Height: Chest 8 inches, Body 21 inches (Total: 29 inches)
Fabrics: Gabardine-type (body), Cotton Polyester blend (lining)Tools I Used: Quilting Ruler, Rotary Cutter, Self-Healing Mat, Tailor’s Chalk, Dressmaker’s Shears, Pinking Shears, Measuring Tape, Sewing Ruler, Tracing Paper, Tracing Wheel, Pins
Materials Needed: Fabric – for finished garment and a nice lightweight cotton for lining, 1/4 Inch Elastic – about 6-7 yards, Thread
Skill Level: Beginner
The instructions were moderately easy to follow for a beginner sewer. There were some drawbacks though. I made 2 other sample dresses (one with a lightweight denim and another with an organza-type fabric) using the Tube Dress version before I made the above one. Some tips and issues I came across:
-The Tube Dress version below barely fit despite measuring exactly as directed because of my figure. So depending on your figure you may choose to make the Flared Dress version, if you don’t like the flare just make it very slight. Or make the Tube Dress version using the fullest part of your hips and any additional room you’d like to add for the width rather than your shoulders, this will make the chest area extra bunchy.
-Measuring the tunnels for the bodice around 1/2 inch wide was way too narrow for threading an elastic through. And 1 inch was a little too wide. So I found about 3/4 inch to 2 cm tunnels to be the most ideal. I used 1/4 inch elastics.
-The instructions given for measuring your pattern didn’t really include seam allowances. 3cm total just wasn’t enough unless you’re an advanced sewer. So what I did instead was cut around the chalk marks I drew, then sewed directly on the chalk marks. This meant I had to mark both pieces of fabrics with tracing paper and a tracing wheel. I simply traced the chalk marks onto the bottom piece before cutting. Don’t forget to apply this to the overall height of the dress.
 -Folding down the lining. I made the fold very narrow as you can see. But the directions recommend taking about 3/4 inch fold which will affect the height of the garment. So consider this and also consider the hem of the garment. When hemming the hem(!), this will also shorten the garment’s height. So add about 2 inches to the height to account for these decreases.
-The book gives suggestions on fabrics and describes how they drape for each type of dress which are handy. Otherwise, knowing how a certain type of fabric will drape is difficult. Then again, that’s the point of this book – for you to explore!
-Opting for the shaped bodice, on both front and back, is definitely worth it. And one that is more pronounced at the bottom is nice.
-A taller bodice (adding an inch to the height) is also more flattering.


OMG! Heart » Blog Archive » Patterns To Die For: DIY Couture, UK
[…] United States Shop http://www.diy-couture.co.uk/shopamerica.html Here are my samples for Gathered Dress and Pleated […]
OMG! Heart » Patterns To Die For: DIY Couture, UK
[…] while supporting the “slow revolution”. OMG! Heart it!! Here are my samples for Gathered Dress and Pleated […]
OMG! Heart » PIP: DIY Couture Pleated Skirt
[…] was slightly more difficult than the Gathered Dress Pattern. In general I find DIY Couture instructions very comprehensive but there’s always one small […]